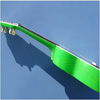
Buff your uke ! : remove traces, scratches and make it shiny !
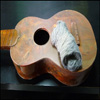
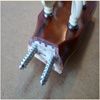
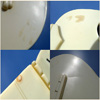
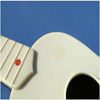
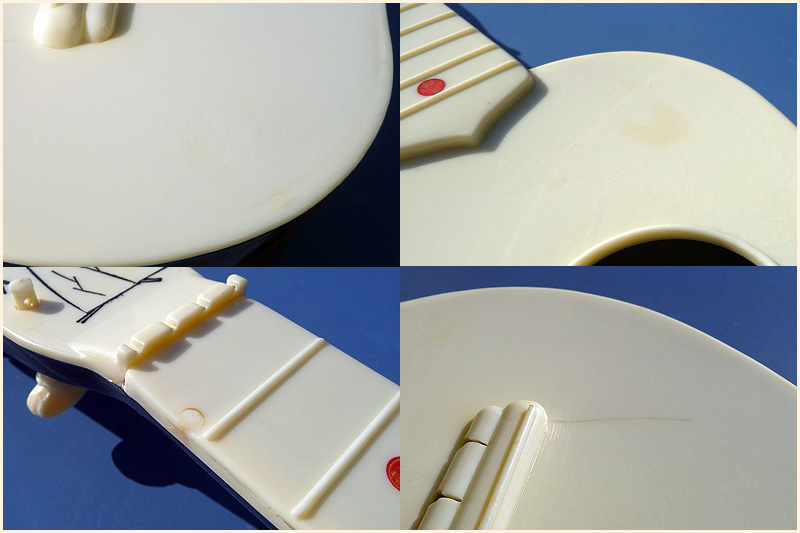
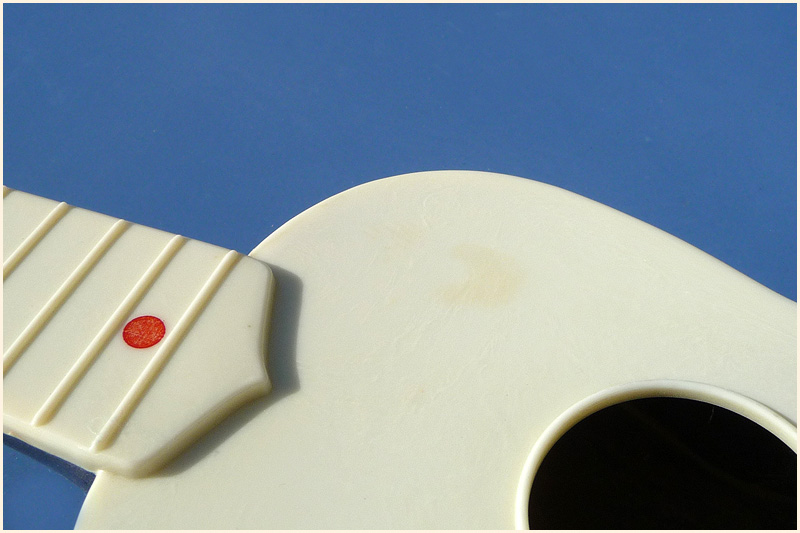
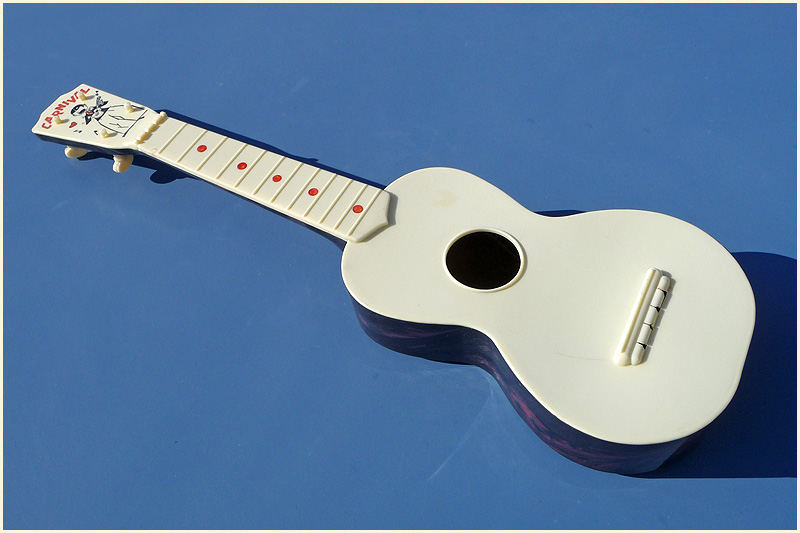
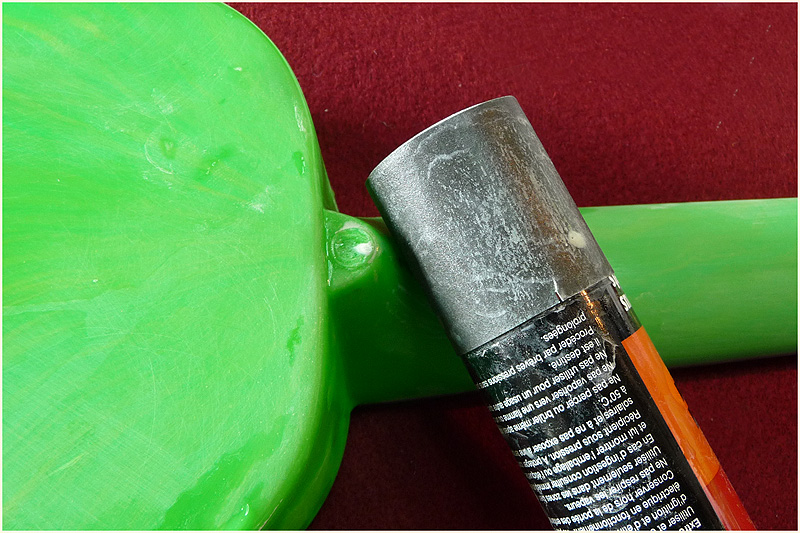
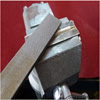
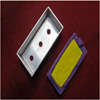
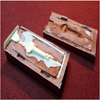
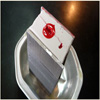
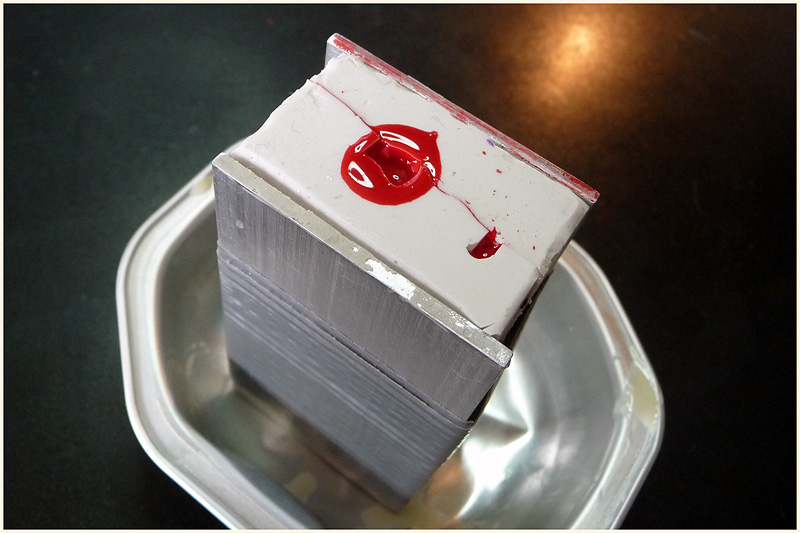
I bought a Lisa on Ebay, and the seller had the « very good » last moment idea to try to fix the soundboard which was a bit unstuck from the slides at the bottom. On that purpose, he used a cyanoacrylate express glue, which was the worst product he could use (acetone excepted!). Then he packed the uke and sent it overseas by airplane. With the aid of the parcel tight atmosphere and temperature changes, I received a fucked-up Lisa with white fingerprints (pic 1). The superglue had worn the plastic and I could feel some relief. He refunded me but I decided to save Lisa.
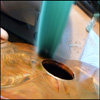
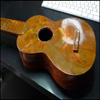
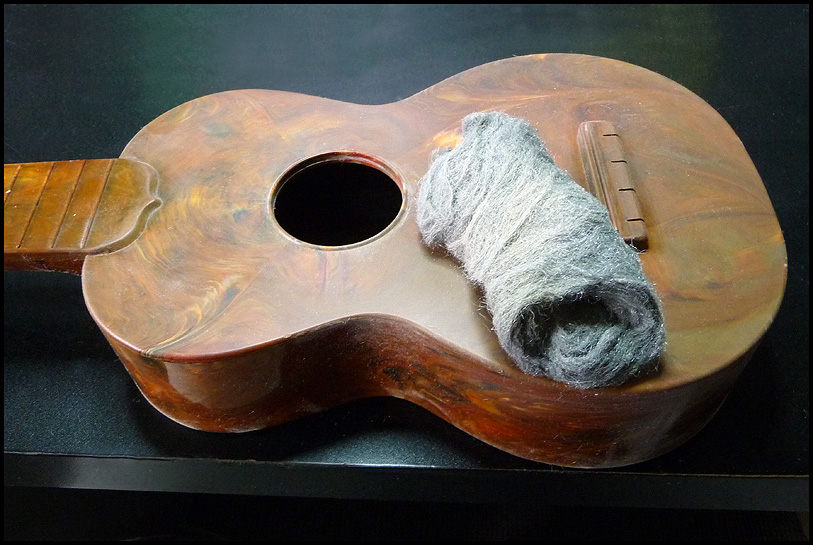
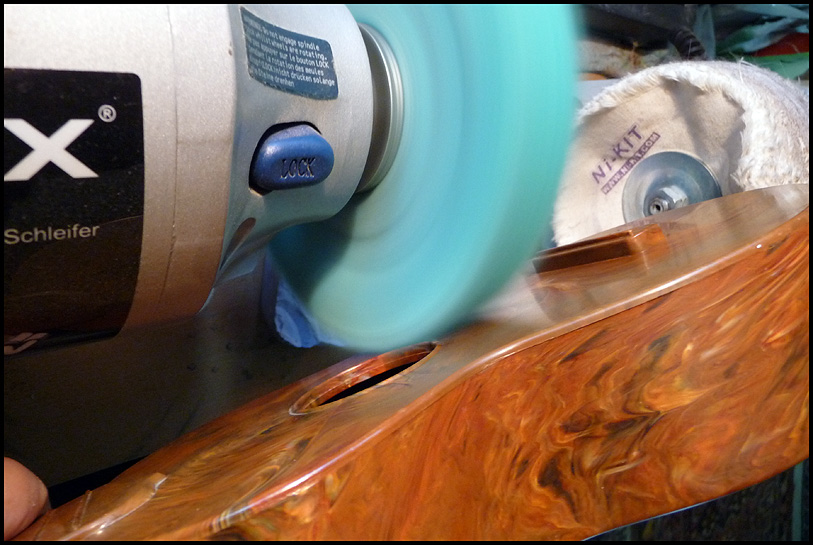
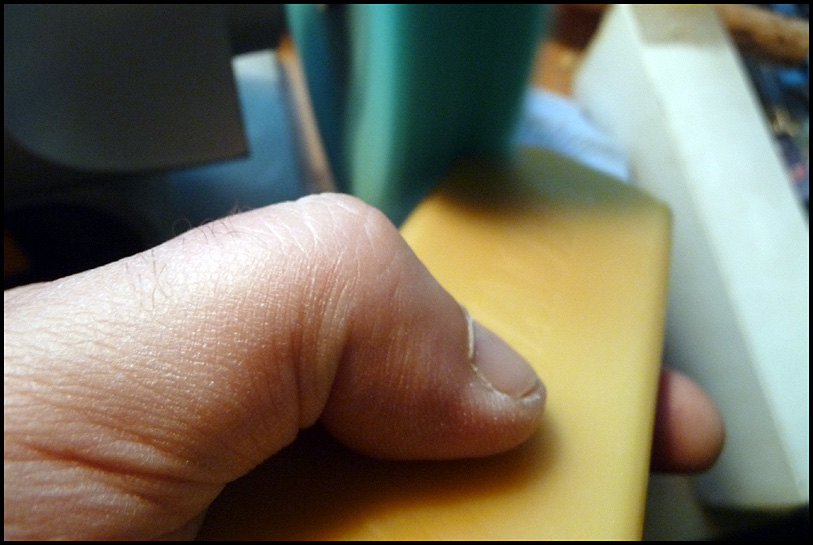
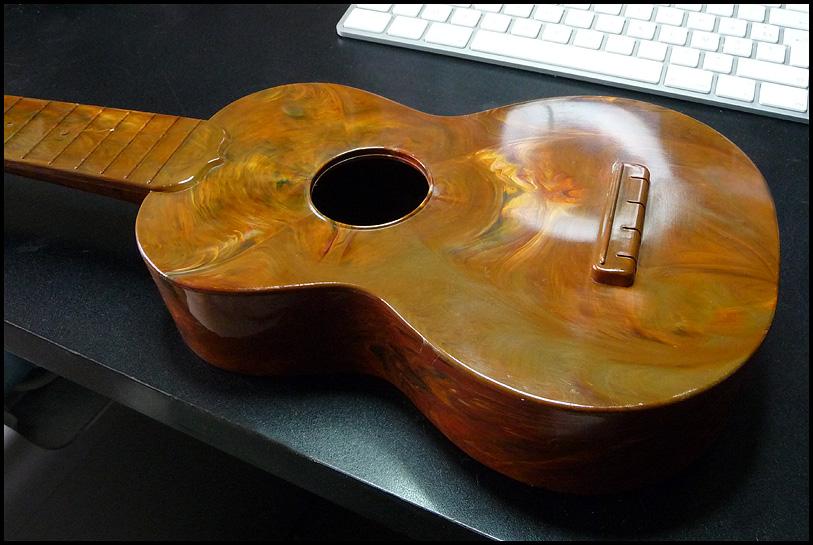
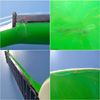
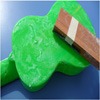
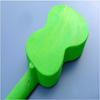
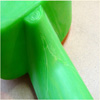
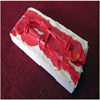
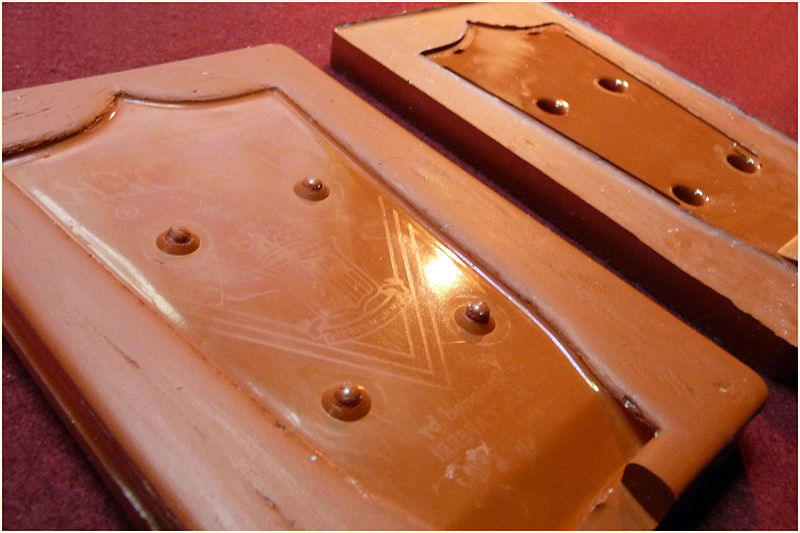
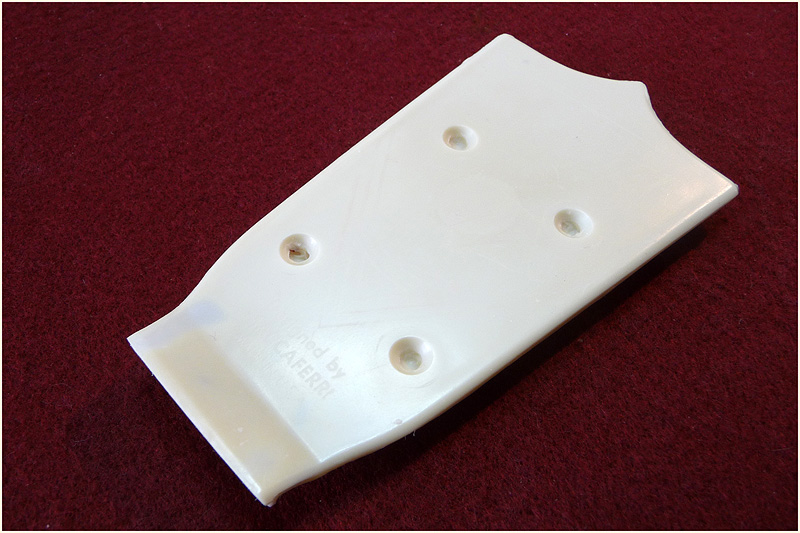
First, I removed all the fingerprints by sanding with very fine steel wool (use 000 or 0000). I also sanded the whole body since the back was worn by some scratches (pic 2). Then I used a bench top buffer (could have used one mounted on a drill) with a very soft cotton wheel to get some shiny back, bewaring of not exceed 1800 rpm (pic 3). To get a full « as new » sheen, I put some carnauba wax on the wheel (pic 4) and buffed again the Lisa (pic 5). No more scratches! (pic 6).
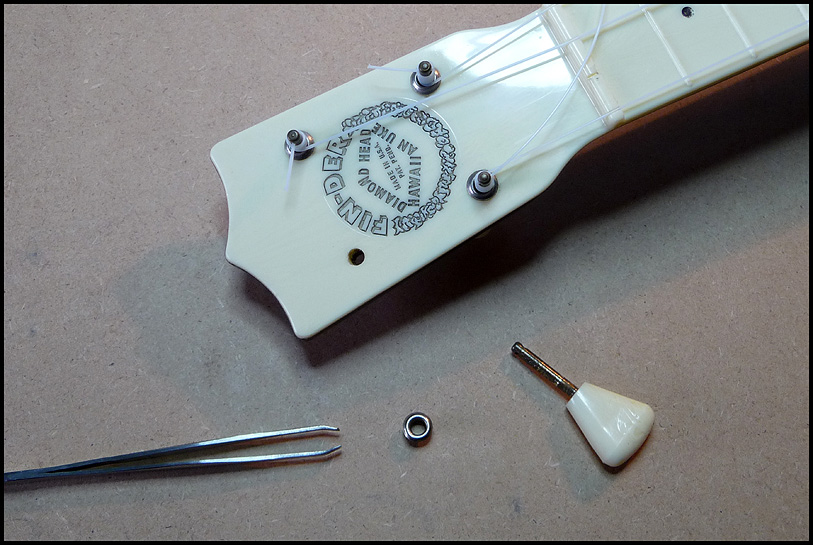
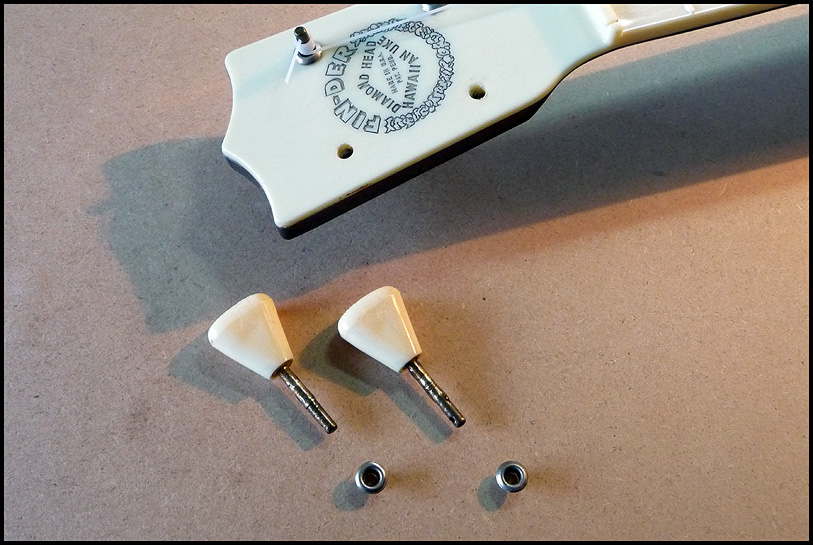
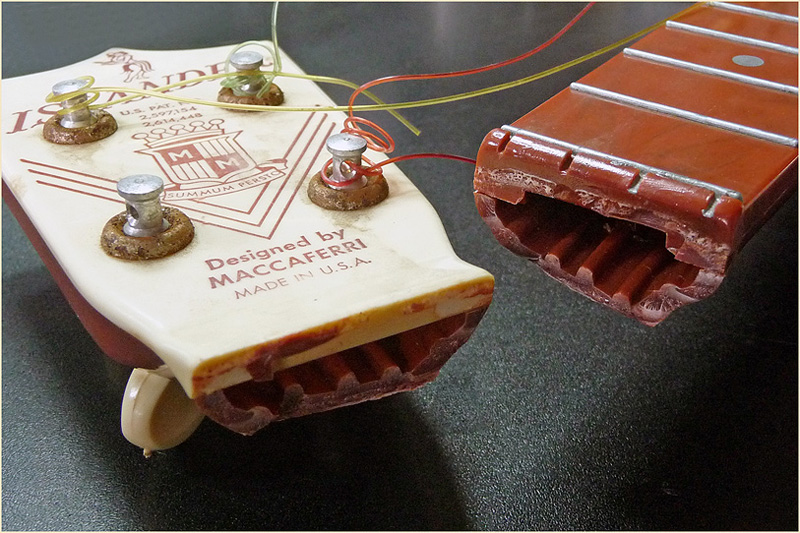
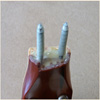
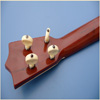
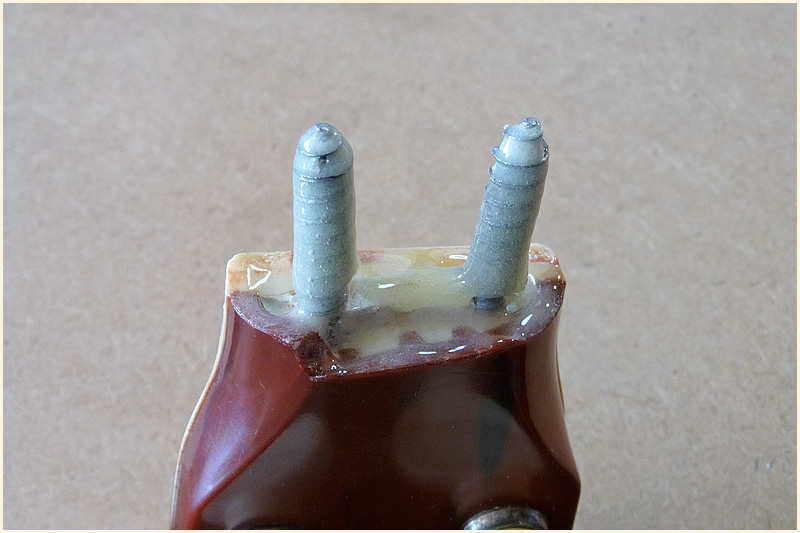
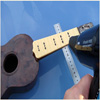
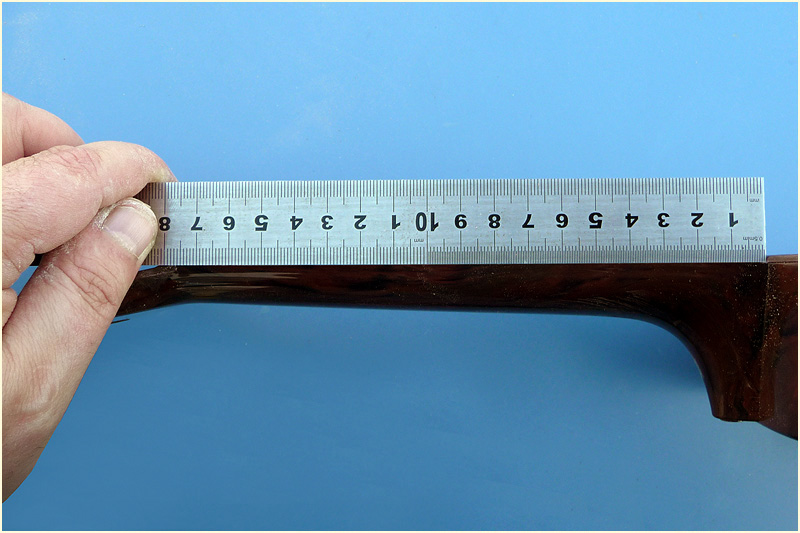
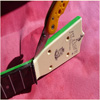
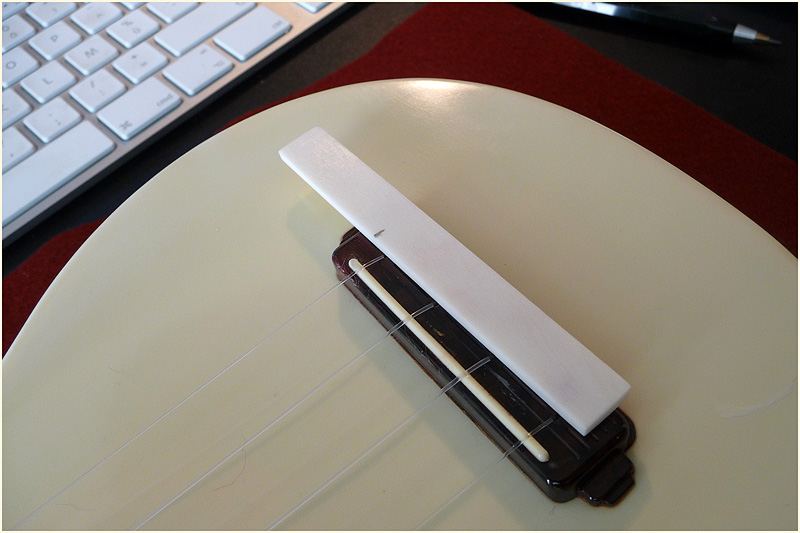
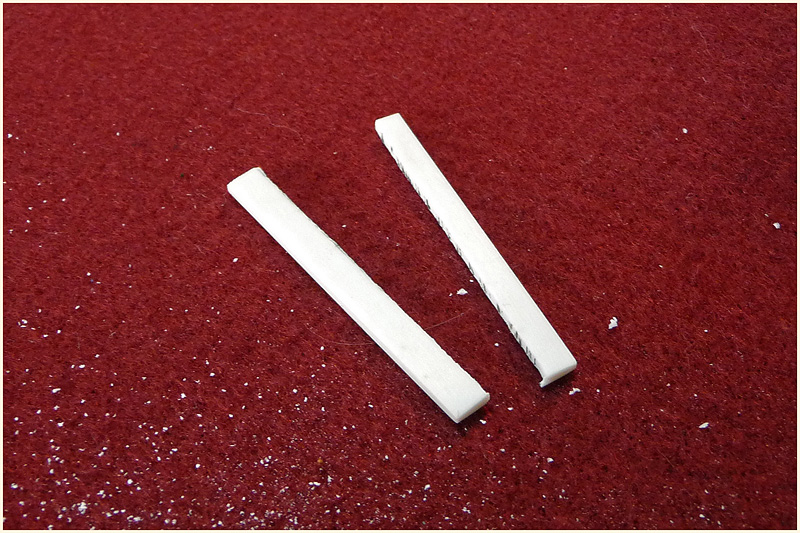
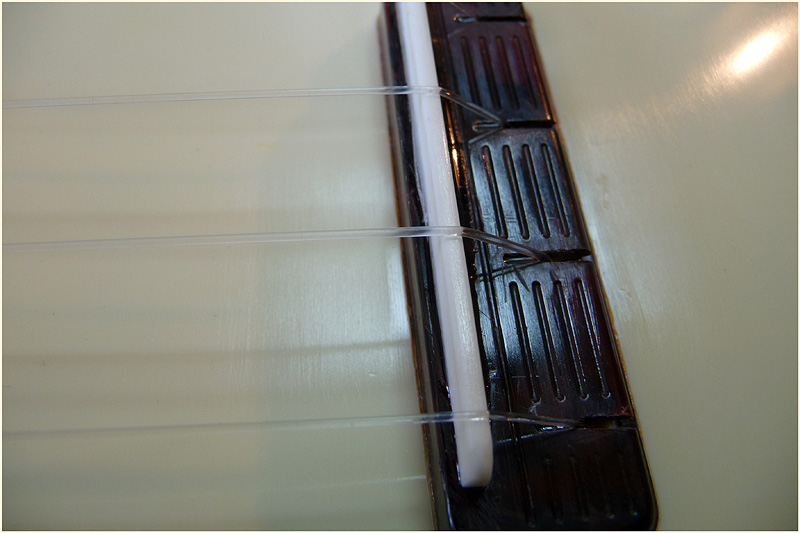
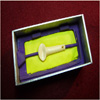
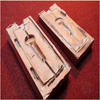
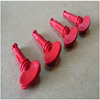
My Fin-Der couldn't keep the tuning on the two last strings after I spared the nice colored (« red hibiscus », « blue iris », « green fern » and « orange ginger ») but awful original ones and replaced them by Aquilas. Too much tension and the two pegs couldn't bear it. They were to loose.
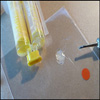
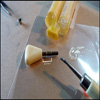
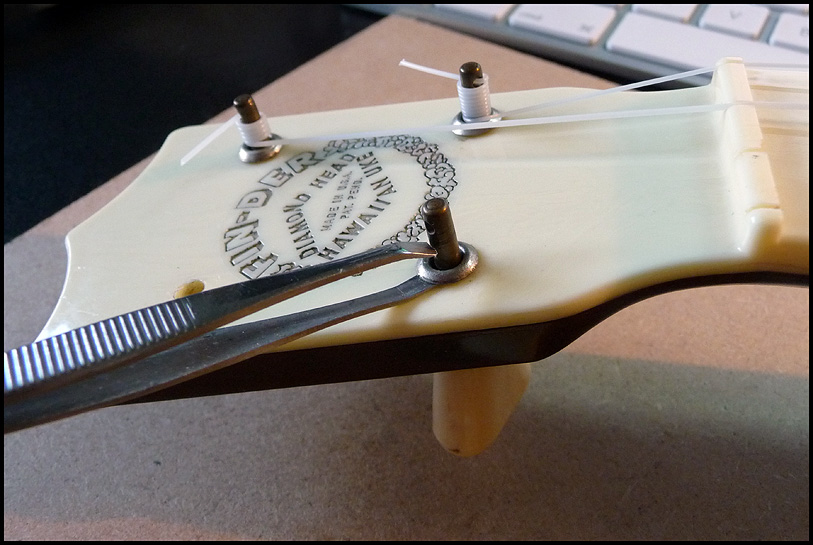
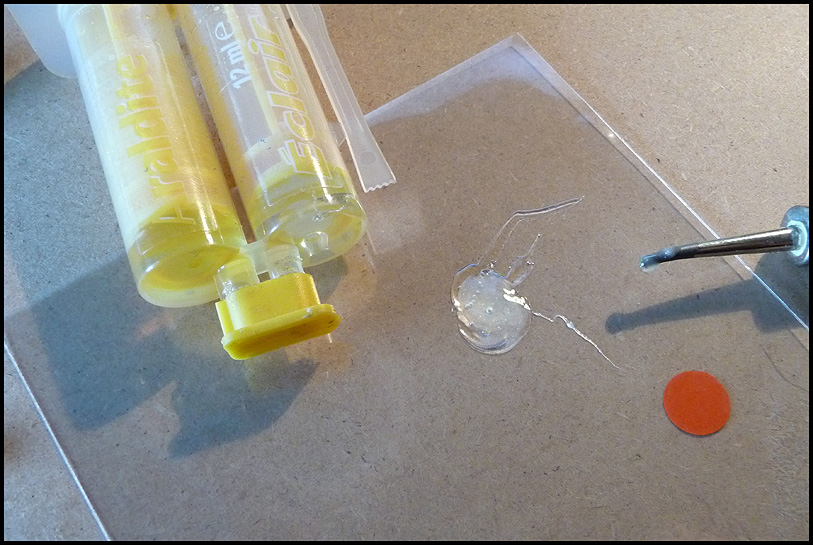
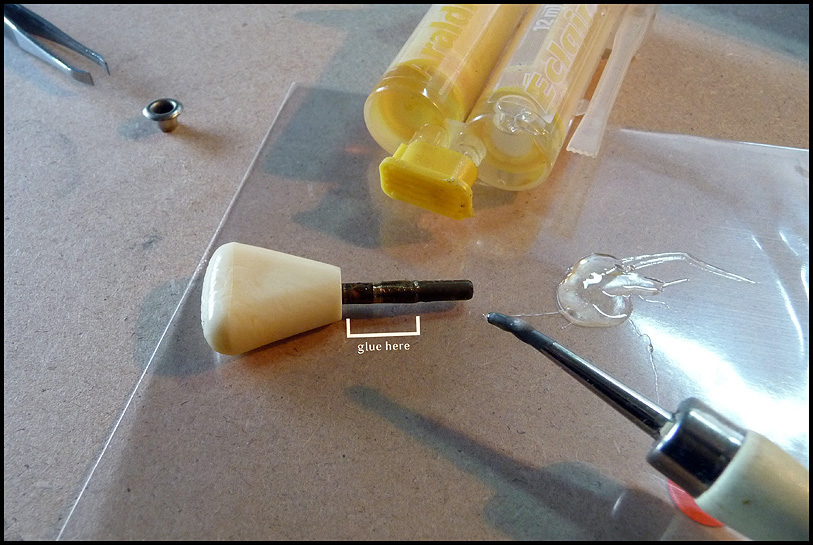
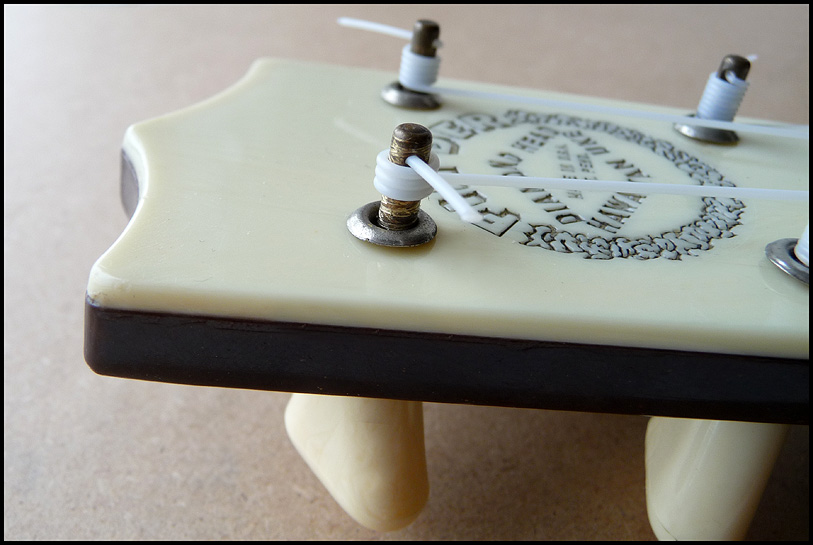
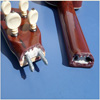
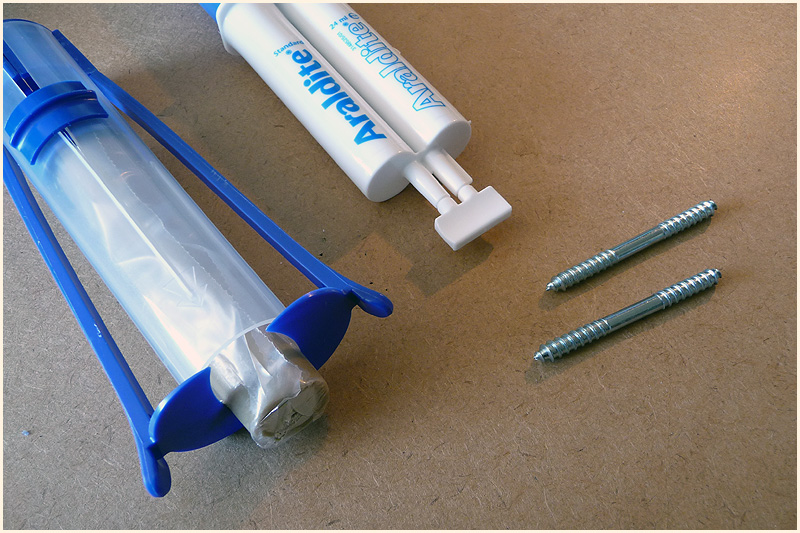
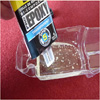
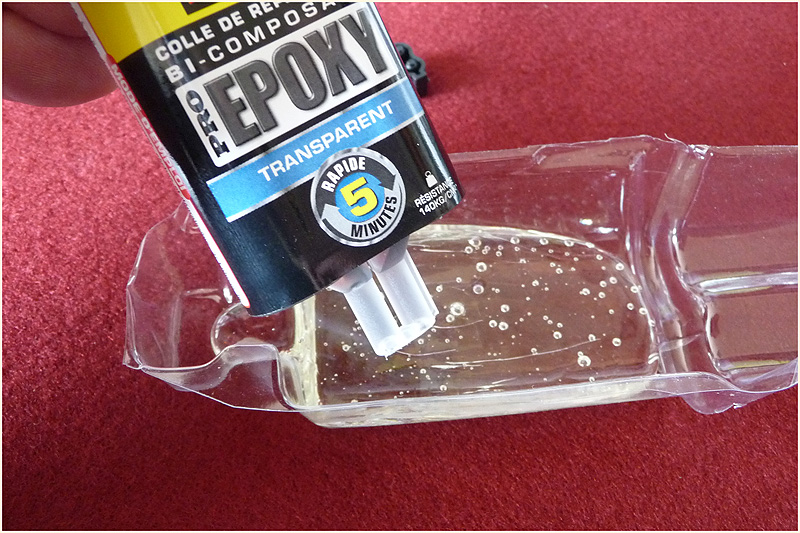
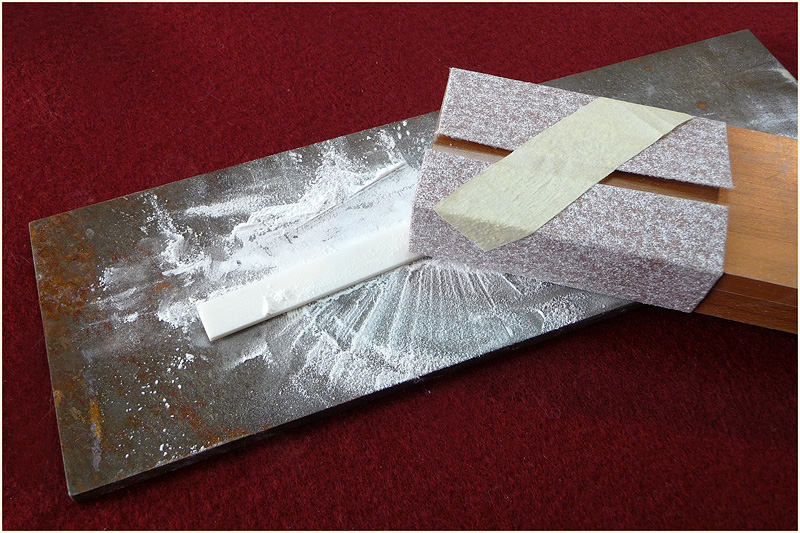
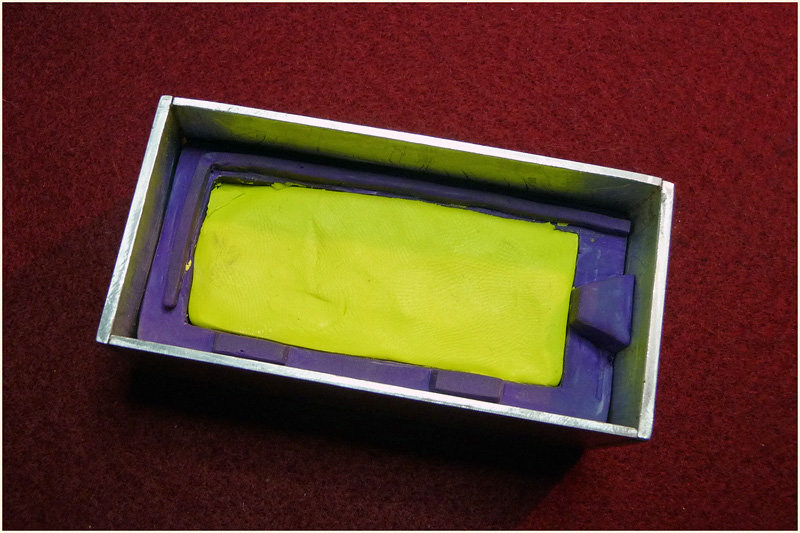
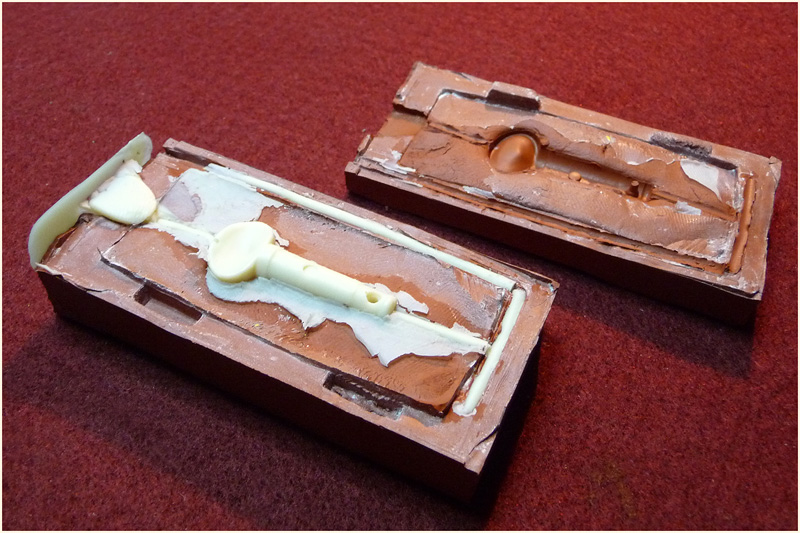
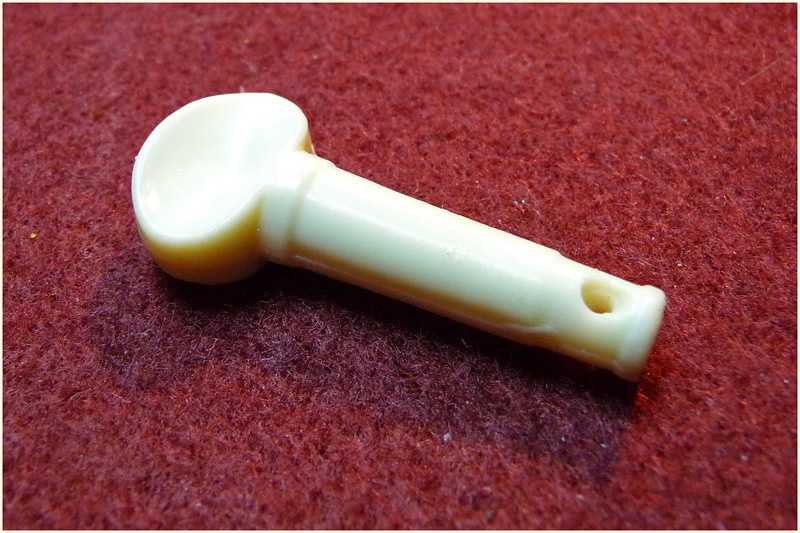
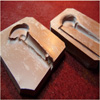
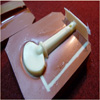
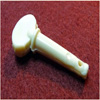
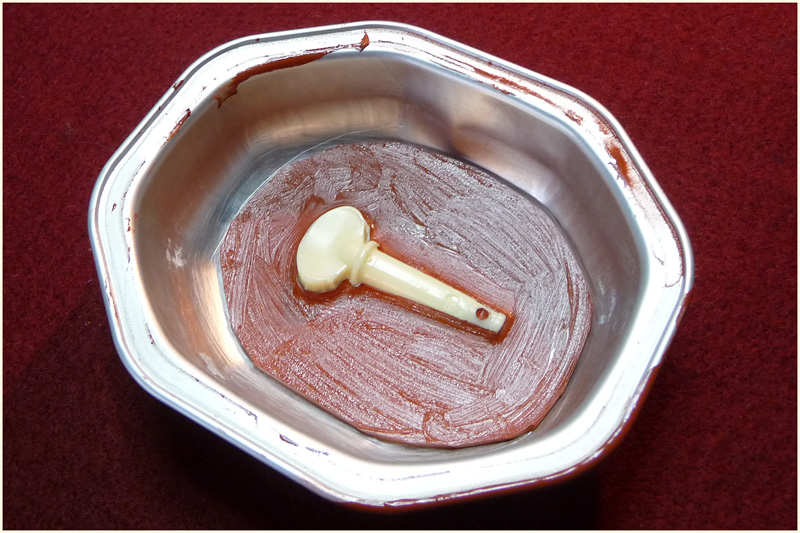
At first, I removed the collars of the loose pegs with tweezers (they are just inset, with no glue) (pics 1 & 2) and got the pegs by twisting them out (pic 3). To get some thickness on the peg stem, I used bi-composant Araldite epoxyde glue (pic 4). I chose this glue because it is very strong, but keeps some elasticity. So, I put a regular and thin coat of that mix on the stem part which is in contact with the peghead hole (avoiding the « aerial » part which receives the string bit)(pic 5) and wait overnight for a good dry. The next day, I forced the pegs in their hole (not difficult since the glue had kept a bit elastic), being attentive to place the string at the very top of the peg stem, in order to increase the lever effect (pic 6). In case you had put too much glue on the stem, just sand with a very fine sanding paper.
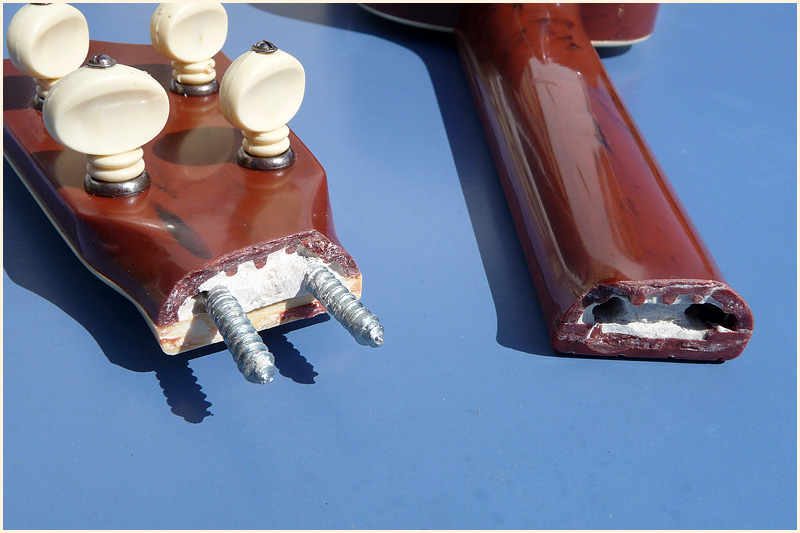
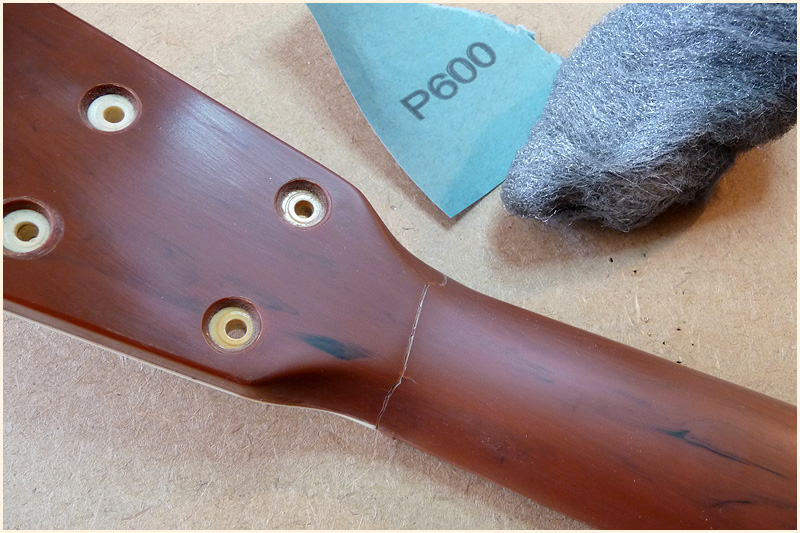
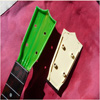
I received a Semi-deluxe Islander in two parts (pic 1). That was not expected. I got the refund, but decided to repair it.
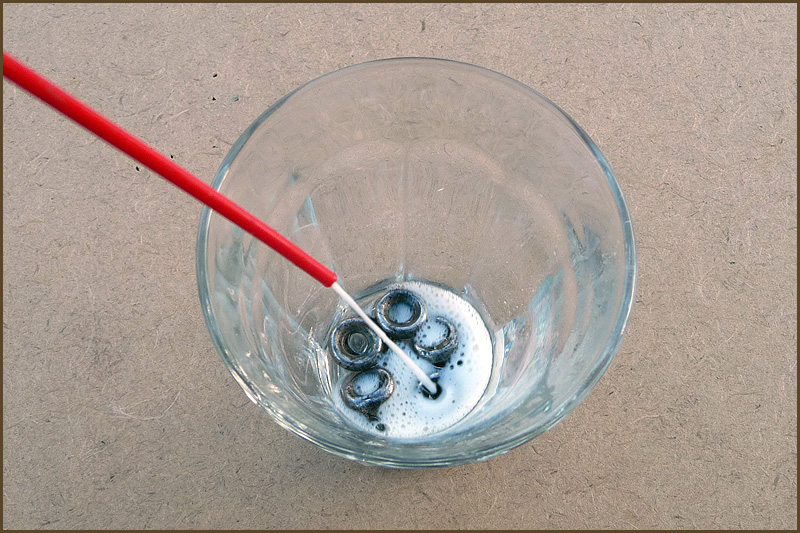
First I unscrewed the oxidized pegs and brushed the semi-toric washers with fine steel wool, then put some WD-40 on them (pic 2). The difference was appreciable (pic 3).
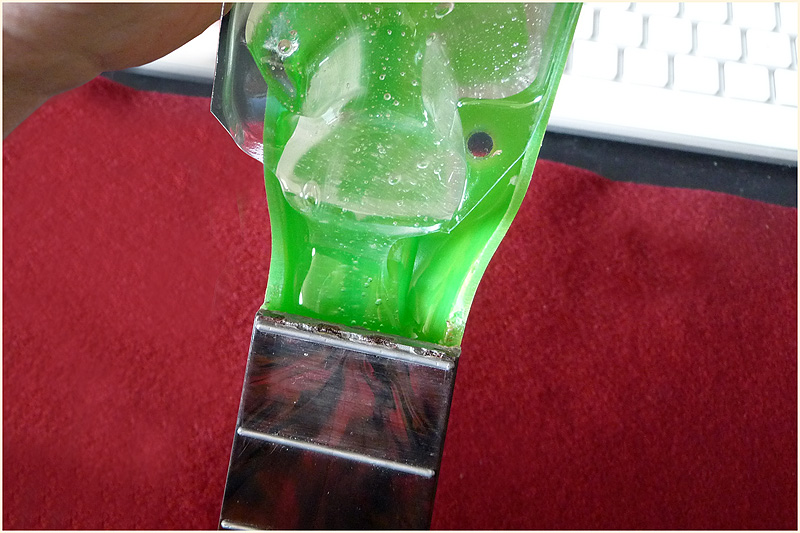
Now, the neck. The problem with hollow plastic necks is that if you directly glue them, you really get a poor solidity, and with regular tension strings, you keep the risk to get your uke in two parts again... So I decided to fill the junction parts with plumber putty, add two tenons, and then glue with hard bi-component epoxide glue (pic 4).
I stuffed the peghead with some putty first, and put the tenons in it (pic 5). When hardened, I stuffed the start of the broken neck with putty, and got the marks of the tenons in it (pic 6). Then I made a close adjustment by removing with a cutter the putty in excess, in order to get a perfect junction.
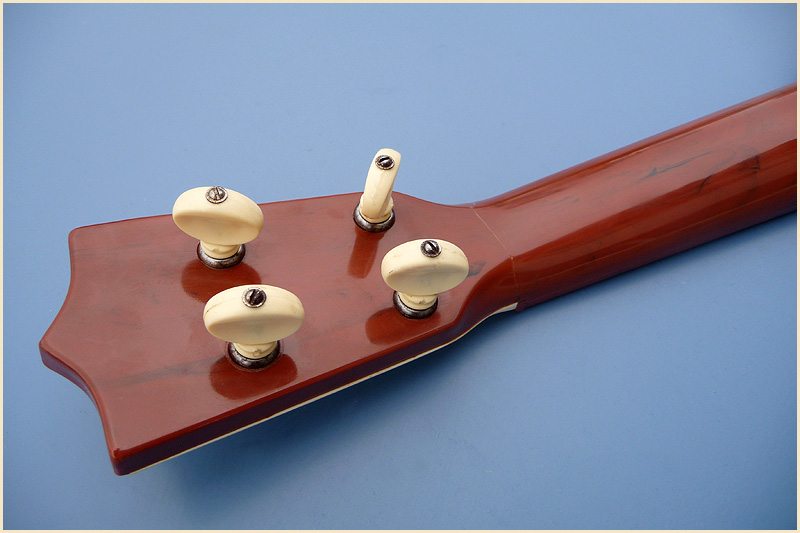
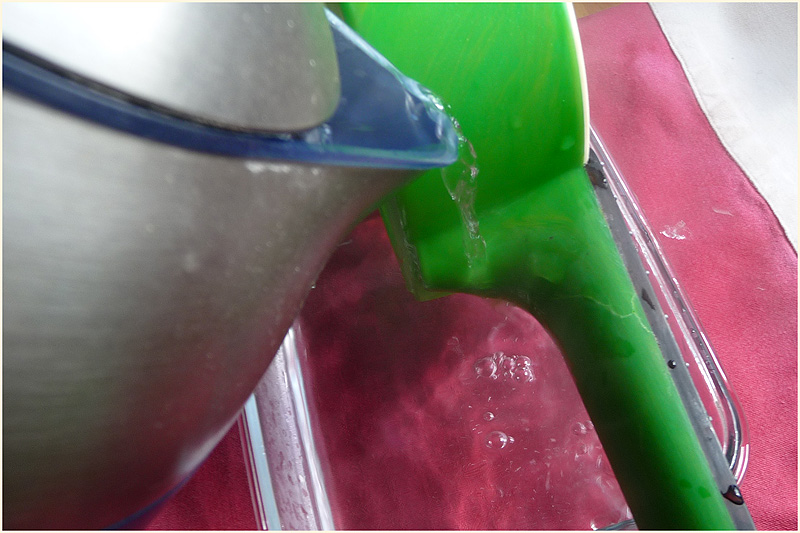
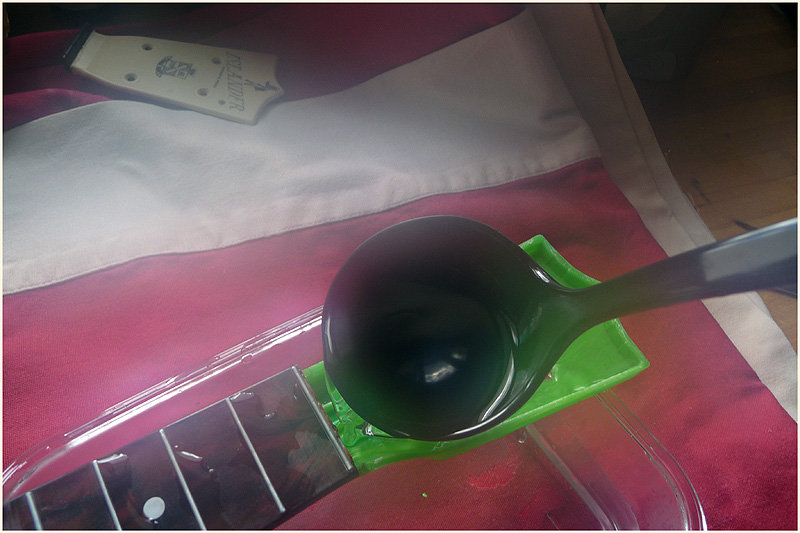
After that, I prepared long rubber bands (pic 7). I injected a large quantity of glue in the « female » tenons plug and spread some on the putty sides (pics 8 & 9). Then stuck the two parts in the right position, and placed the tight rubber bands from the peghead to the bottom of the body. I immediately hung the Islander upside down in order for the glue to fill the holes from the inside and avoid it to drip in the body (pic 10). It was the time to remove the excess glue dribbling from the break line, with a tissue impregnated with alcohol
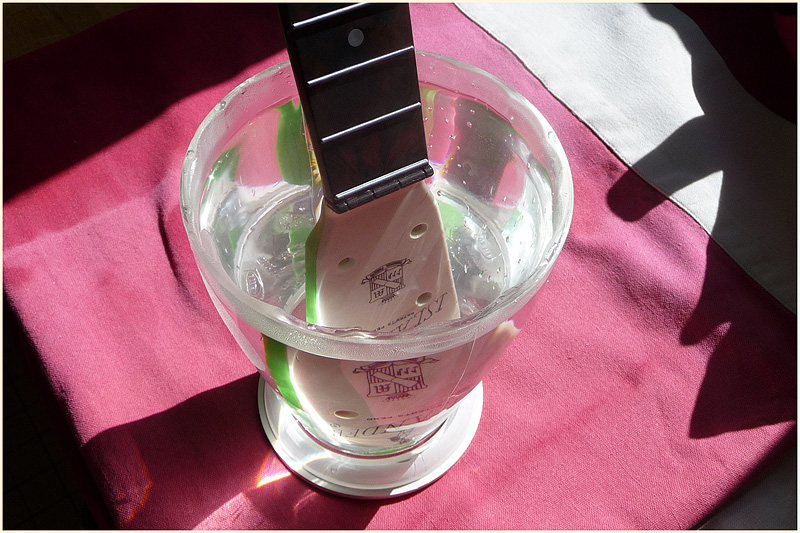
It took 24 hours to harden, and then I removed the rubber bands and sanded the repair with fine sanding paper and steel wool (pic 11), then buffed it.
The break is still visible, but the repair is very solid (pic 12). On the sound side, it is perfect (for an Islander). I even think I gained some sustain comparing to my standard Islander. Here is a sound sample :
Bent neck : fix a bent neck and get a low action back
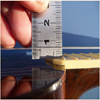
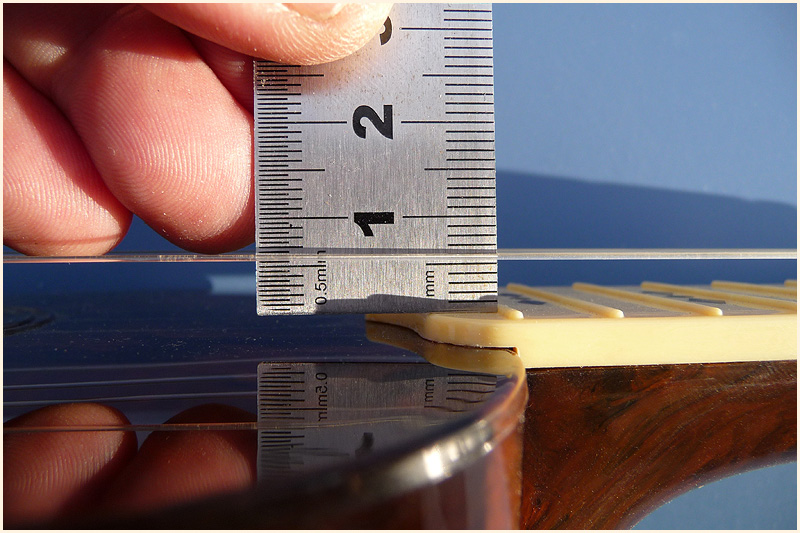
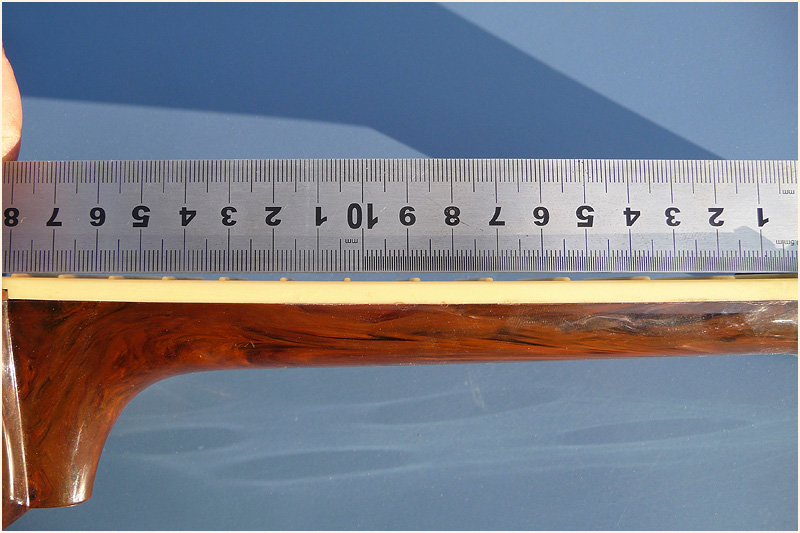
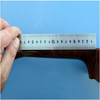
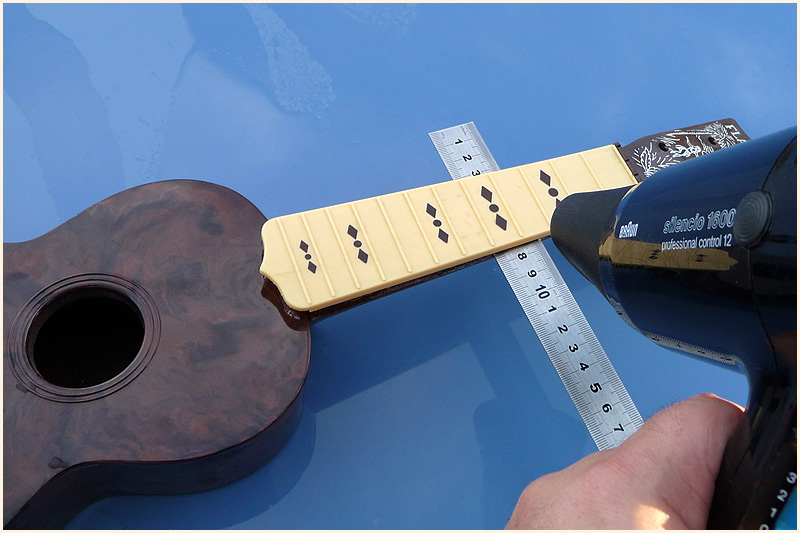
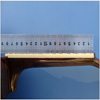
One of my Flamingos has a terrible action. It should have stayed in the sun once (or more!), and the neck has bent, raising the string up to 6 millimeters (quarter of an inch) over the 12th fret (pics 1 to 3). Since I do not have a high temperature press, I decided to straighten the neck in the hard and old school way.
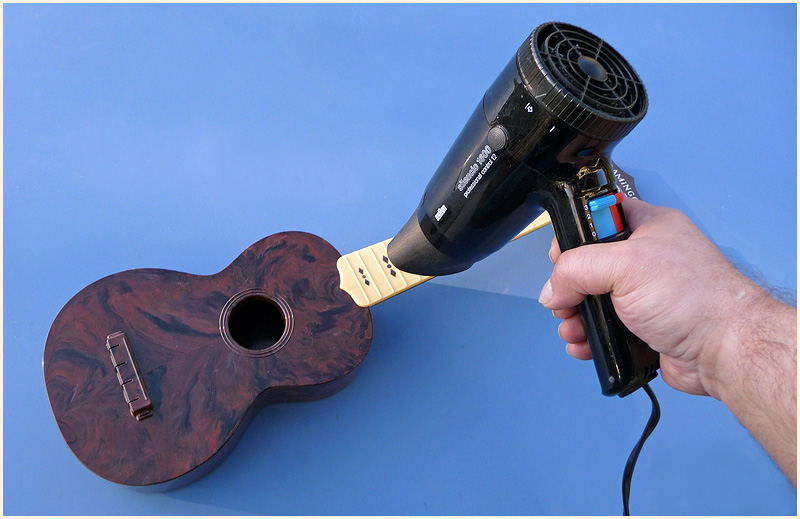
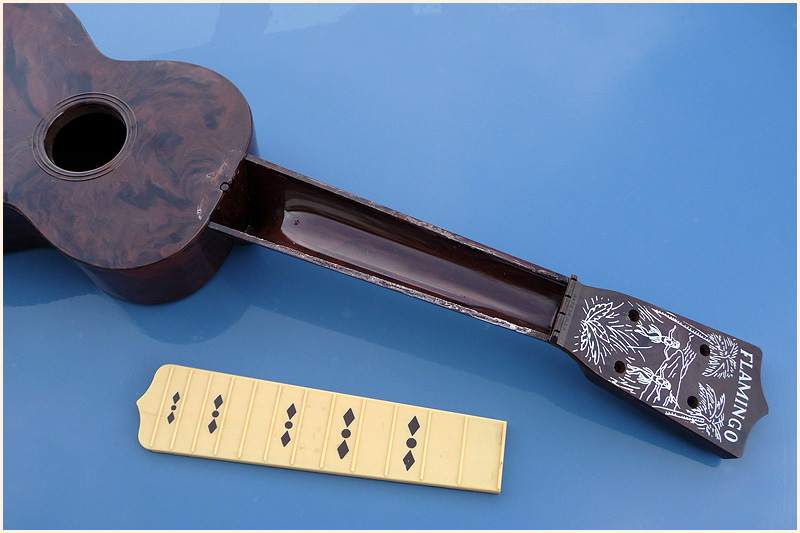
Using a powerful hair dryer, I began to blow hot air on the fingerboard (pic 4), until it becomes possible to insert a steel ruler under its tip. The glue used for flamingos was certainly not luthier's glue (fish or rabbit glue), but it seemed that it reacts to heat. Step by step, with patience, I continued blowing and gently sliding the ruler under the fingerboard (pics 5 to 7) until the complete release (pic 8).
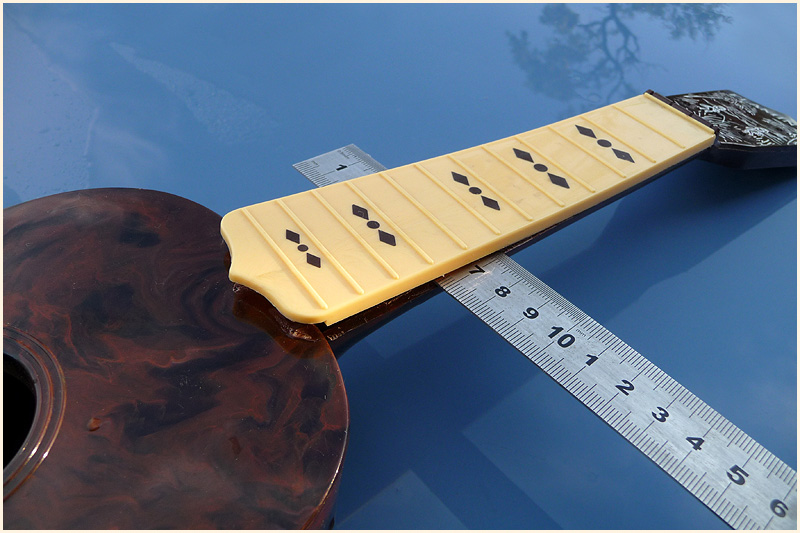
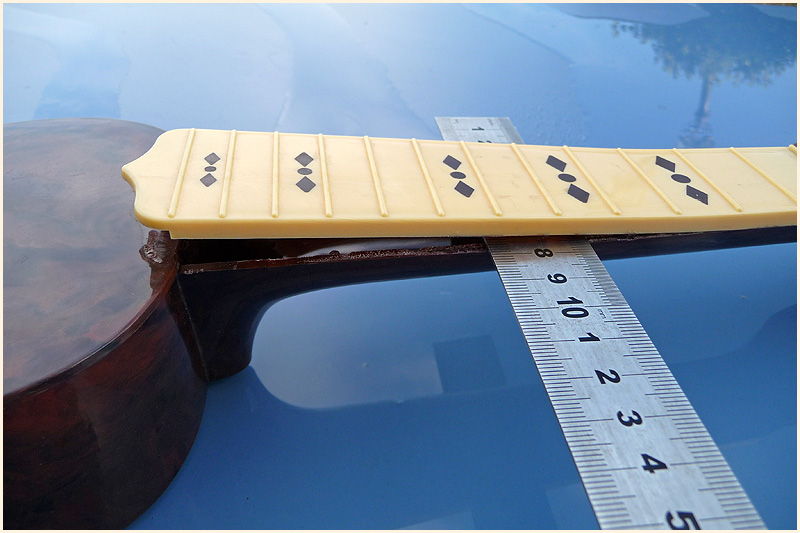
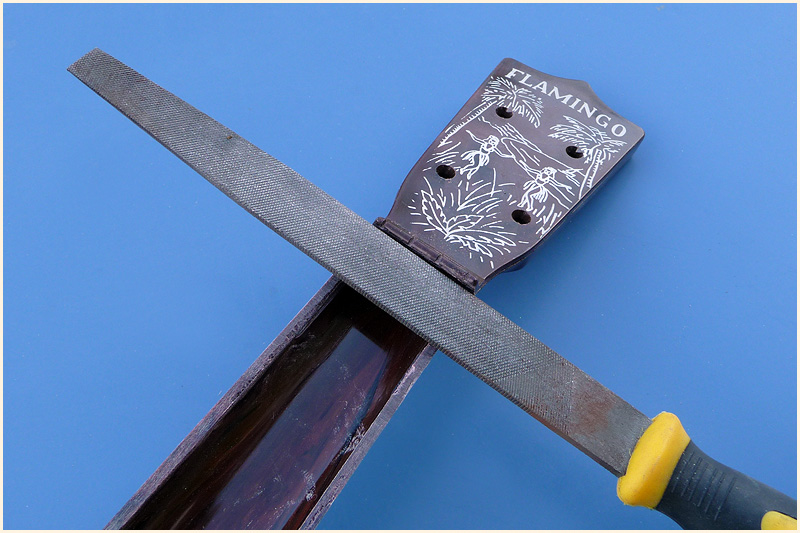
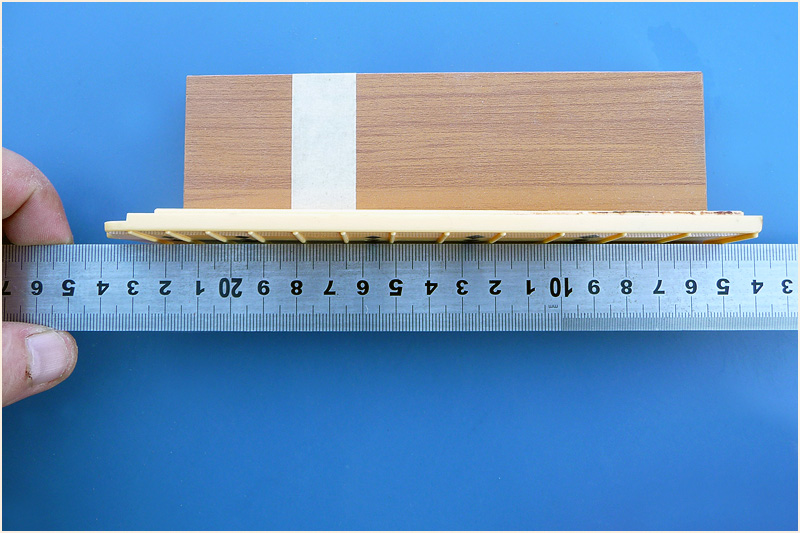
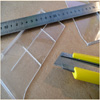
I checked the neck, it was slightly bent, as forecast (pic 9), and filed it at the very top end (pic 10). Then sanded it (pic 11), carefully controlling the straightness, until « perfection » (pic 12).
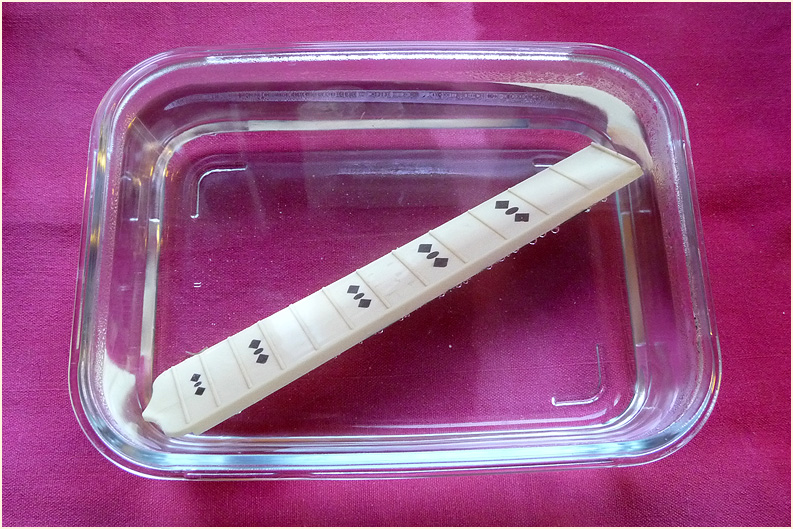
Then I steeped the fingerboard in boiled water for one minute (pic 13) and bent it back to full straightness (pic 14).
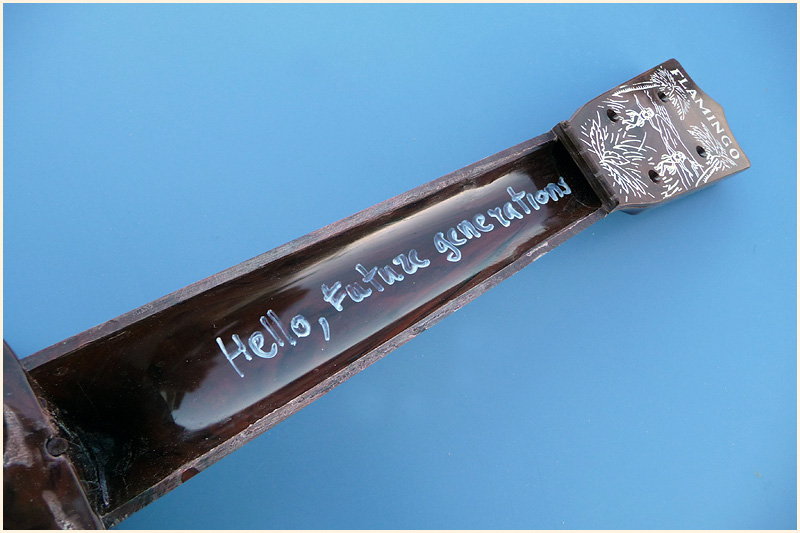
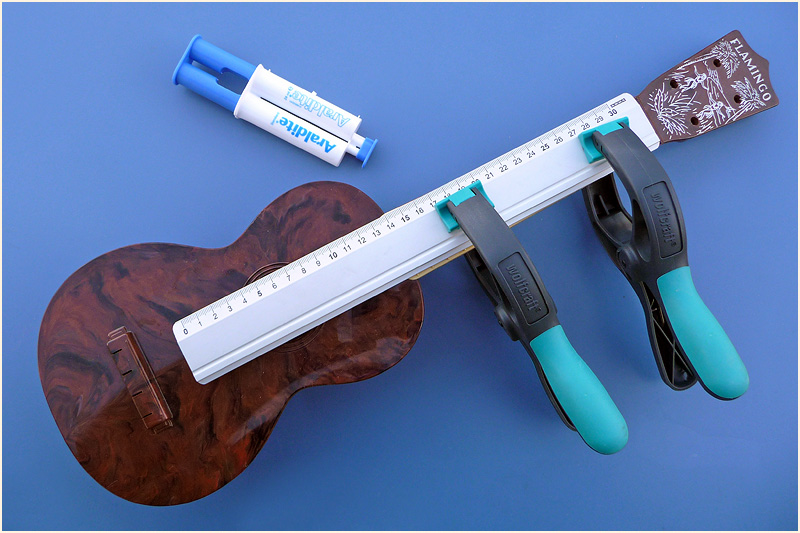
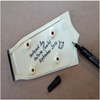
I surely left a message (a poor one...) to future generations (pic 15), and glued the fingerboard to the neck, using bi-component epoxide glue. Clamped it with a rigid straight ruler during 24 hours (pic 16).
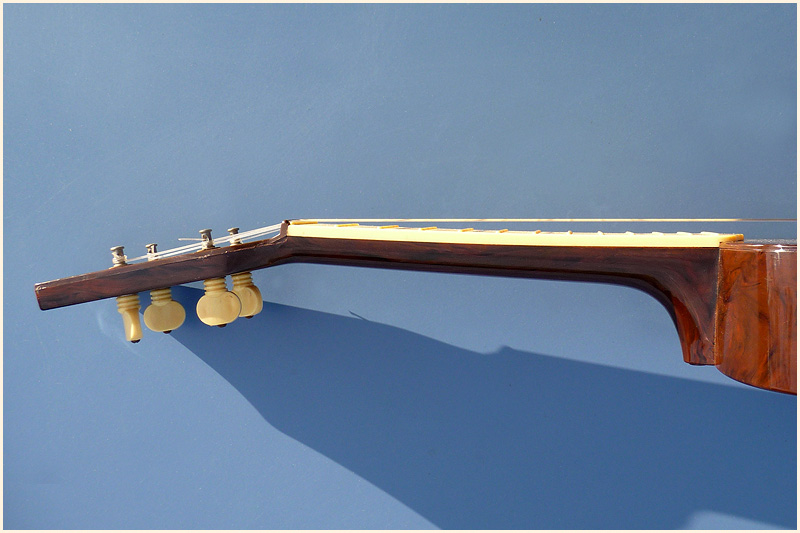
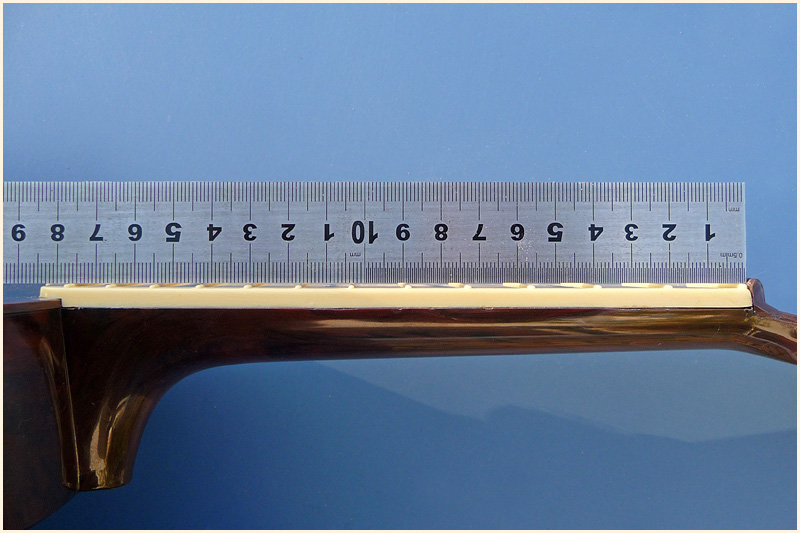
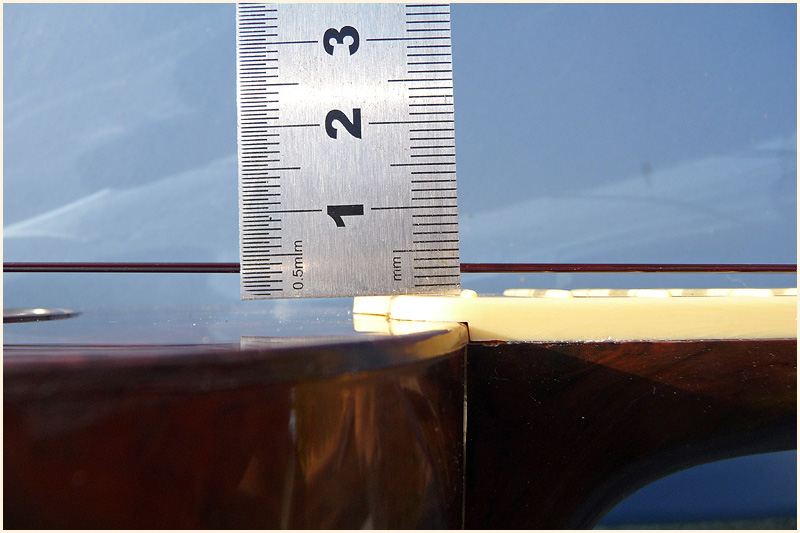
I got a perfect result, with a straight fretboard (pic 17). Since this flamingo features a zero-fret, I didn't to have to adjust the nut, but in case I had no Zero-fret, I would have had to file the strings slits down of the exact amount I filed the neck down.
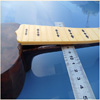
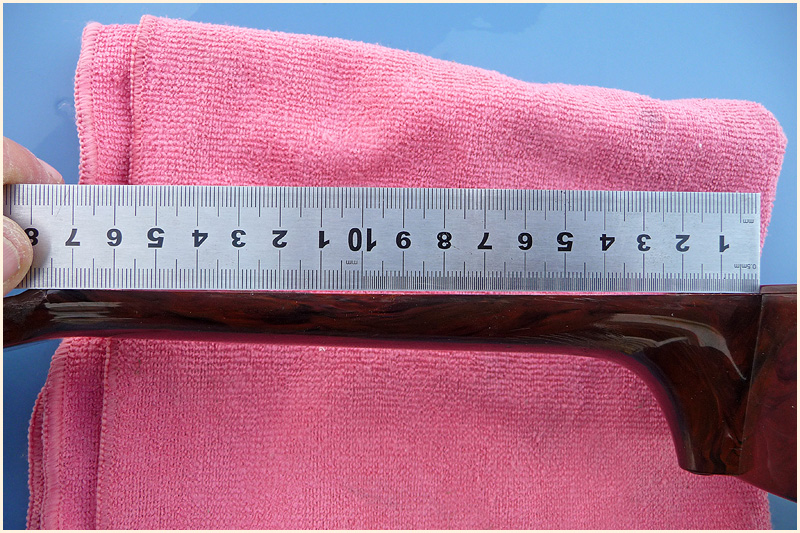
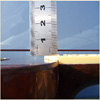
Now, the action is decent, with 3 millimeters over 12th fret (pic 18).
I had a Carnival soprano in quite a bad shape. It had numerous colored burns and melted spots, plus a crack running from the bridge (pic 1). No miracle possible, but I decided to get it better.
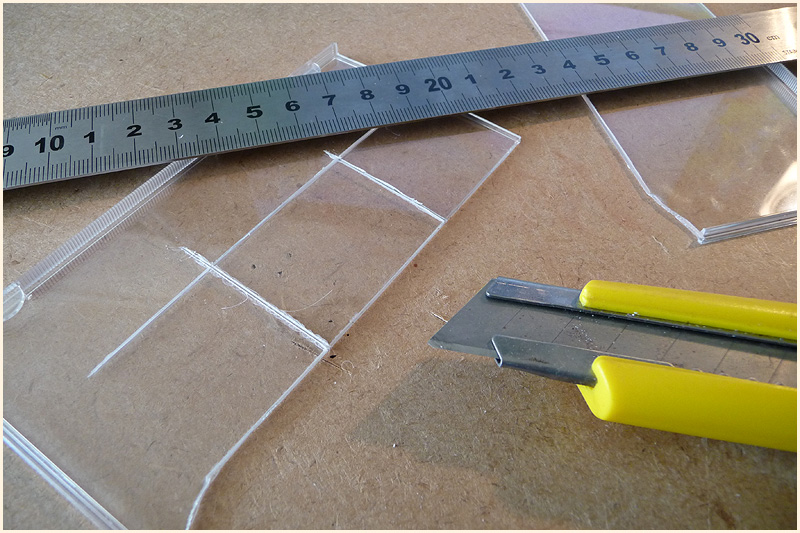
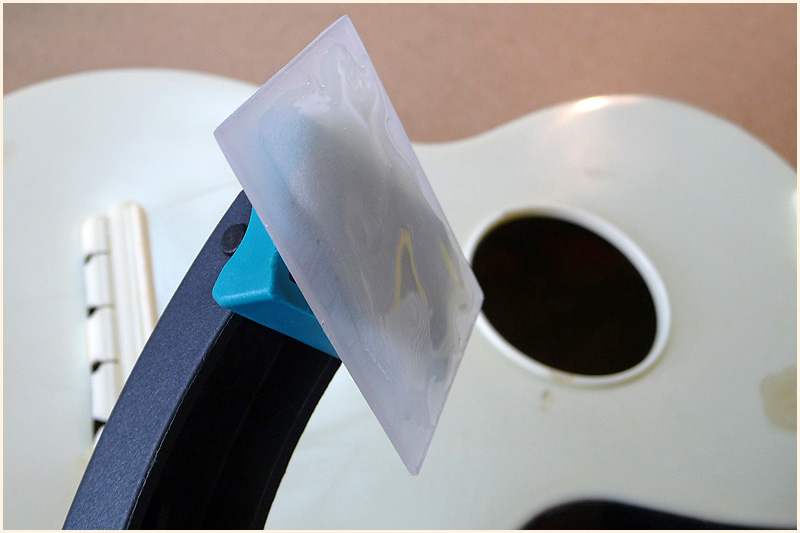
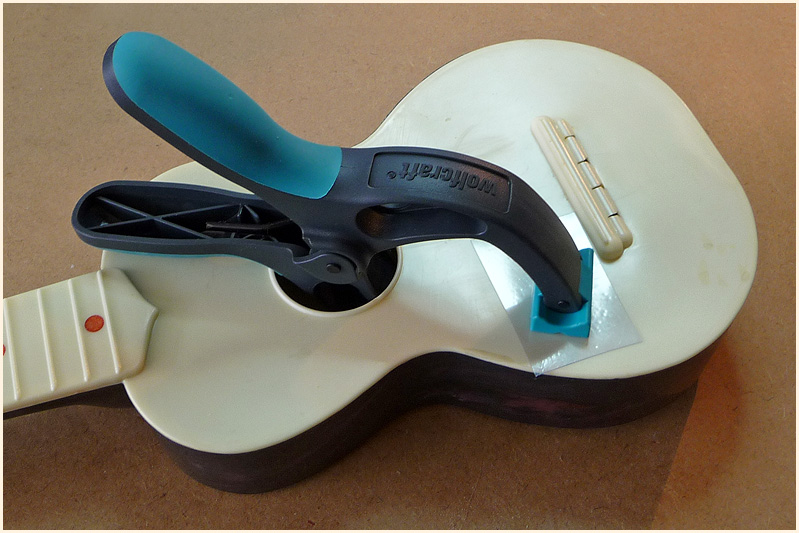
First, the crack. I took a CD cover, drew a rectangle with a cutter and broke the plastic along the lines (pic 2). Then, I sanded the edges, and placed double-sided adhesive tape on one side, after having made it less sticky by applying on my blue-jean : so, the external side would stay stickier than the side facing the patch, and after clampling, would stay on the clamp and leave the plastic patch (pic 3). I placed the patch on the clamp and put the mix of bi-component epoxide glue on the other side (pic 4). Then placed the patch inside the body of the uke, with a film on the soundboard in order to prevent the clamp to get stuck to it (pic 5).
After the crack was repaired (24 hours of drying), I sanded all the burns and melts with degressive grains of sanding paper : 240, then 400 then 600, and completed with very fine steel wool #000 (pic 6). I made the finish by buffing the whole uke with a fine cotton disk with carnauba wax (pic 7), and got a Carnival in quite a better shape. It is not perfect since there still are shadows of the burns which had deeply colored the plastic... (pics 8 to 12).
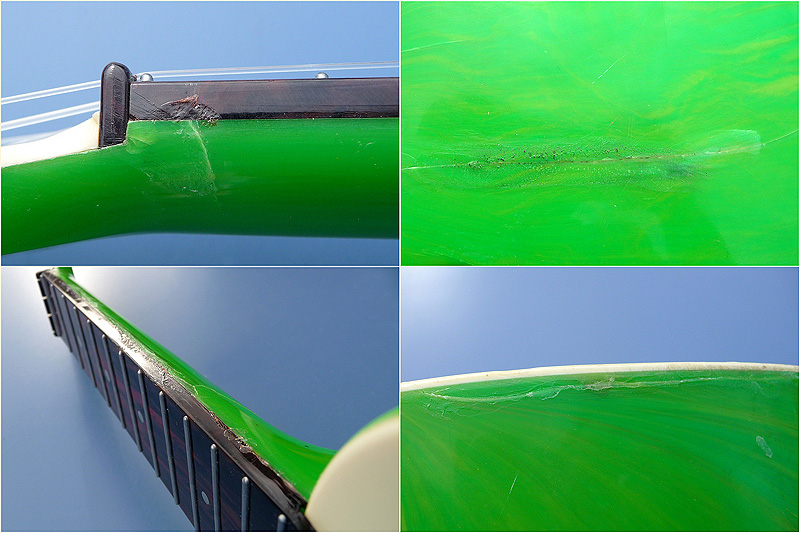
Well... This one was a mess, cracks, holes, lots a glue marks left by the former owner, and bad action (All strings touching the 12th fret) (pics 1 & 2). I knew in advance I wouldn't be able to mask the whitish limits of broken plastic. My main concerns were structural stabilization and playability.
First I sanded the whole beast (pics 3 to 5), in order to erase the ugly glue marks left by a previous quick repair. Sanding paper plus fine steel wool.
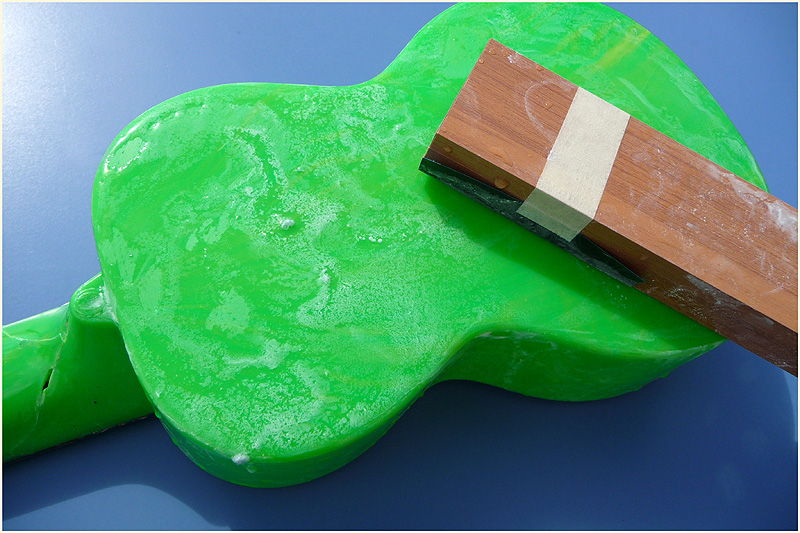
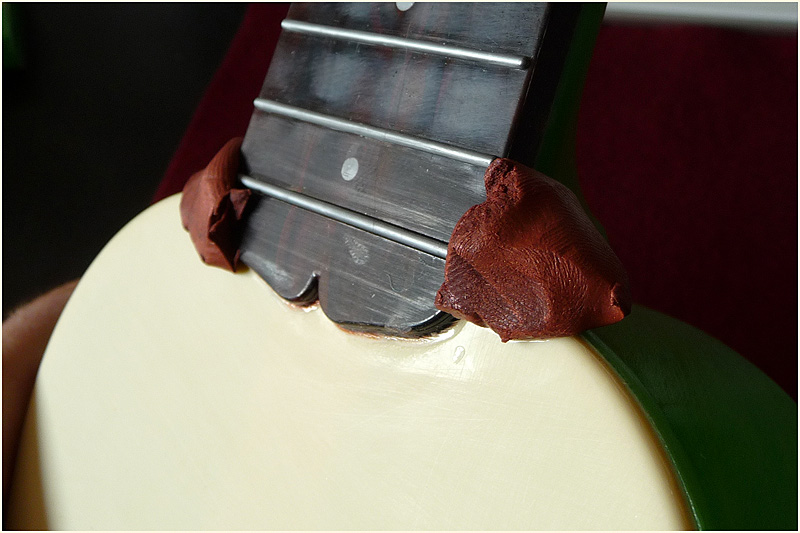
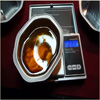
Then I filled the holes. For this task, I used Fimo clay. By chance, I found one reference with almost the same color (pic 6). So I stuffed this putty in the holes (pic 7). Usually, you have to bake the Fimo in an oven, at 230°F during half an hour to get it hard. I was not warn to bake my frog-Islander. I assumed that the 30 mn duration is for thick parts of Fimo, and mine were quite thin. Water boils at 212°F, but salted water near 220°F. So I salted heavily the water in my kettle, and poured one liter and a half of this boiling soup by very light drops on the repaired part (pic 8). For sure, I had previously warmed the Islander up with hot water from the tap, to avoid a thermic shock and new cracks. The Fimo hardened.
Then I steeped the head of the uke in very hot water (pic 9), and was able, with a sharp knife, to separate the head plate without any damage (pics 10 to 12). I did this on the purpose to « open » the neck, and I poured some boiling salted water to fix the Fimo by the inside (pic 13).
Then I dropped a whole syringe of bi-component epoxide glue in the bottom of the neck to get a perfect solidity there (pics 14 & 15). I had previously placed some putty on the « natural » holes on the sides of the base of the fingerboard to avoid the glue to get away (pic 16).
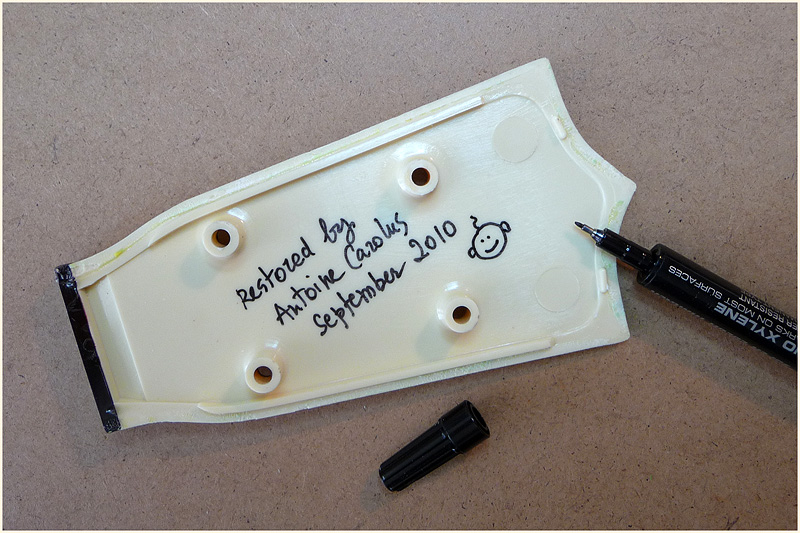
I glued the plate back, after having left a hello message to the future aliens who will repair again this Islander (pic 17), and sanded the fix (pic 18).
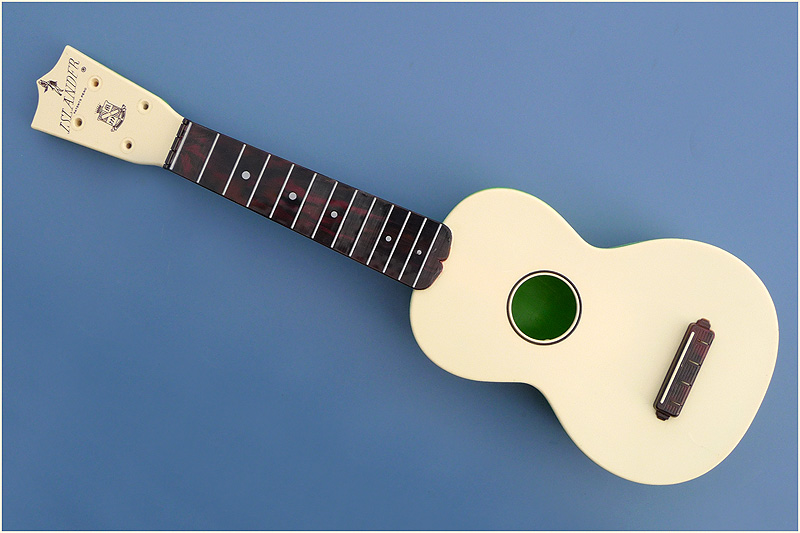
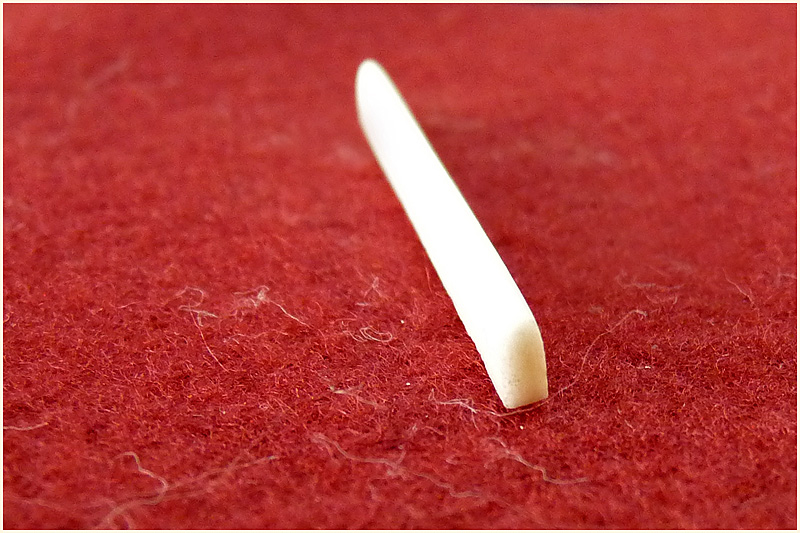
After that, I made a new bridge nut to raise the strings. If the neck bends in the future, I just will have to file a bit of this new nut. For this, I used a raw bone nut, filed it, sawed and sanded it (pics 19 to 24). I leveled the original nut, drew « grip lines » on it (pic 25), and glued the new one.
The angle made by the strings with the nut would sharpen, and could cause to much pression on it. So, I put some hard glue in the strings slots, in order to back off the point of emergence of them, and increase the angle formed with the nut (pic 26). I got a rather good action (pics 27 & 28). Then practiced a good buffing session to get back the shiny (pic 29).
As forecast, cosmetically speaking, my work is not a success. But the uke is playable as any Islander, very solid, and with regular sound quality for a uke in this category (pic 30).
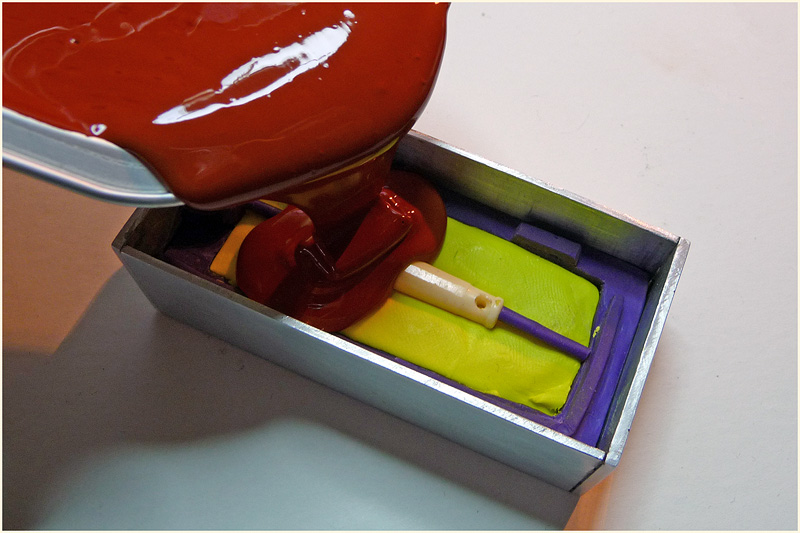
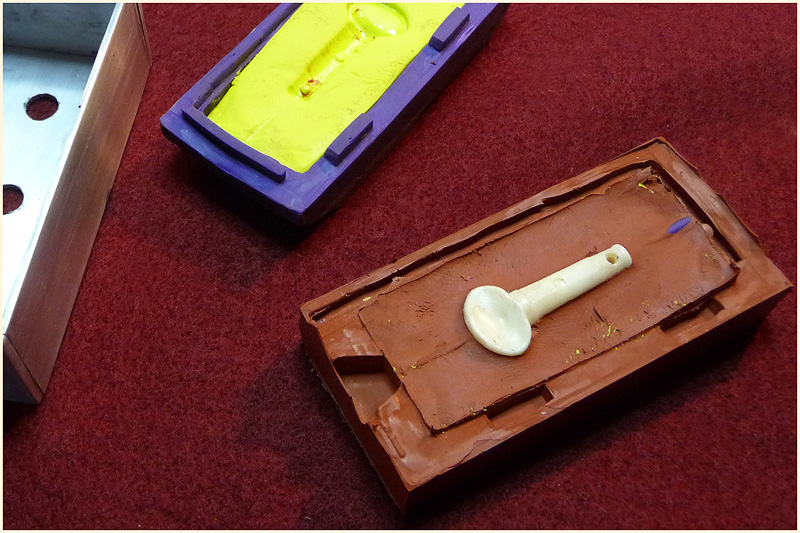
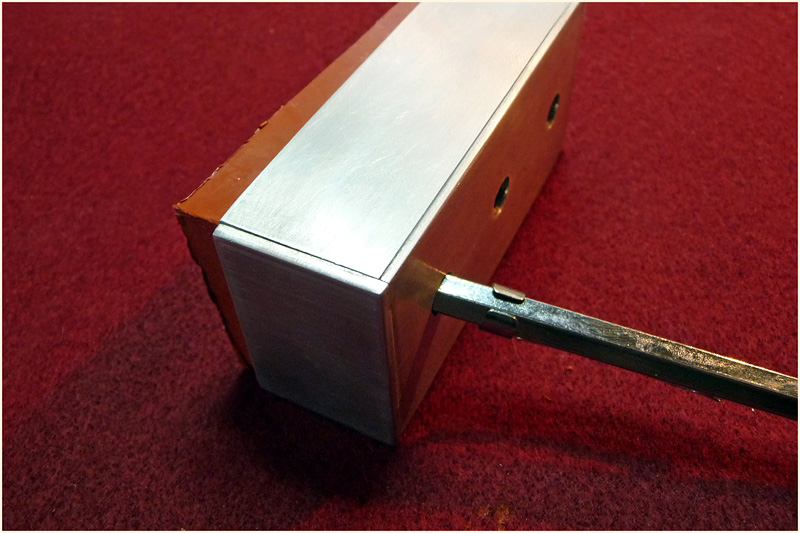
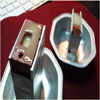
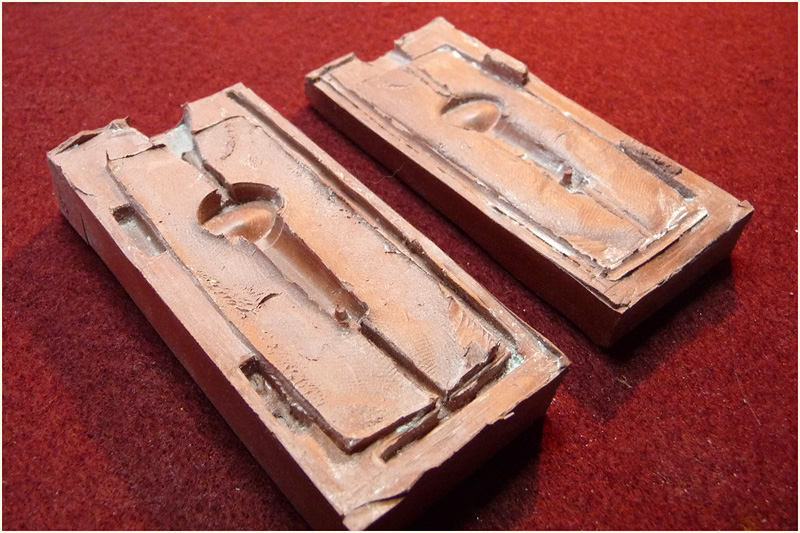
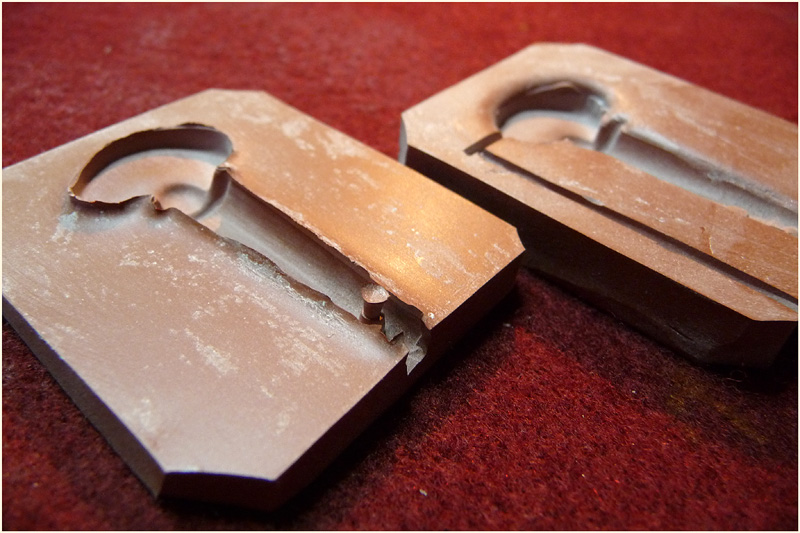
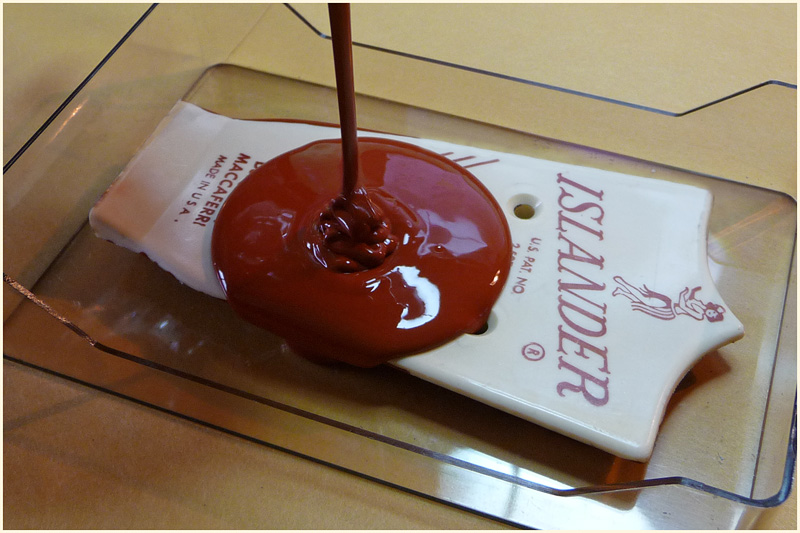
I have bought a cheap Carnival ukette with a missing peg. Three strings do not make a uke, so I duplicated one of the pegs. For that task, I used a little box I previously had made with aluminium sheet, with soft clay in the bottom, and some shapes in hardened clay to prepare an air circulation (kind of chimney) and a cone for an easy casting (pics 1 & 2) I forced a Carnival peg in the soft clay and add plastic sticks in order to complete the future air circuit (pic 3).
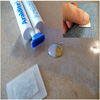
Then I prepared the precise proportions of silicone and hardener, plus some silicone oil (to avoid bubbles) (pic 4) and cast the mixture in my box (pics 5 & 6).
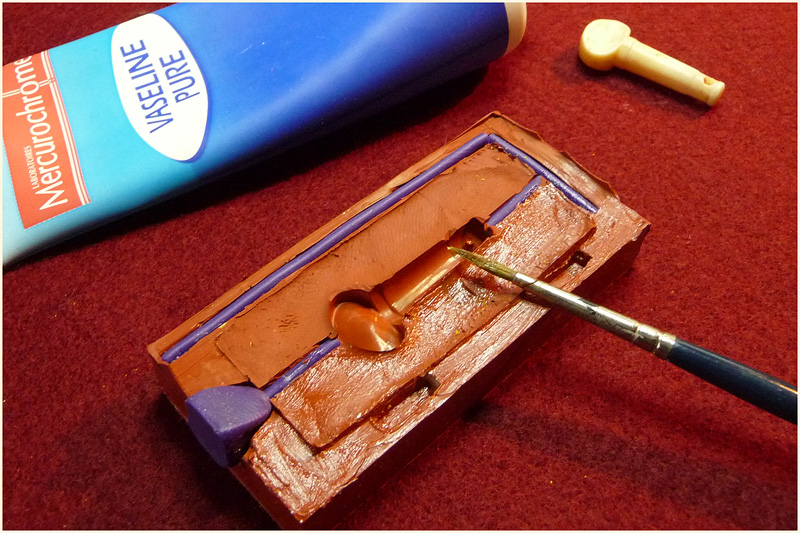
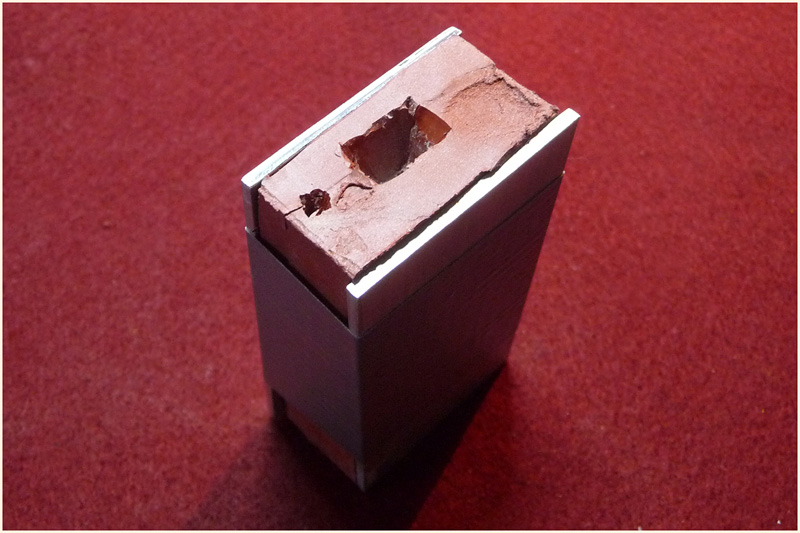
After a night of hardening, I took the silicone apart, and get half the mold (pic 7). I cleaned it, placed some plastic sticks and cone in the holes, and display some vaseline on the silicone to be sure to empeach the next casting to stick (pic 8). Then placed this part in the bottom of the box, plus the original peg (pic 9), and again, made a silicone mixture and cast it (pic 10). After hardening, I unmold the whole (helped by the holes in the bottom of my aluminium box (pic 11)), and got my two-parts mold (pic 12).
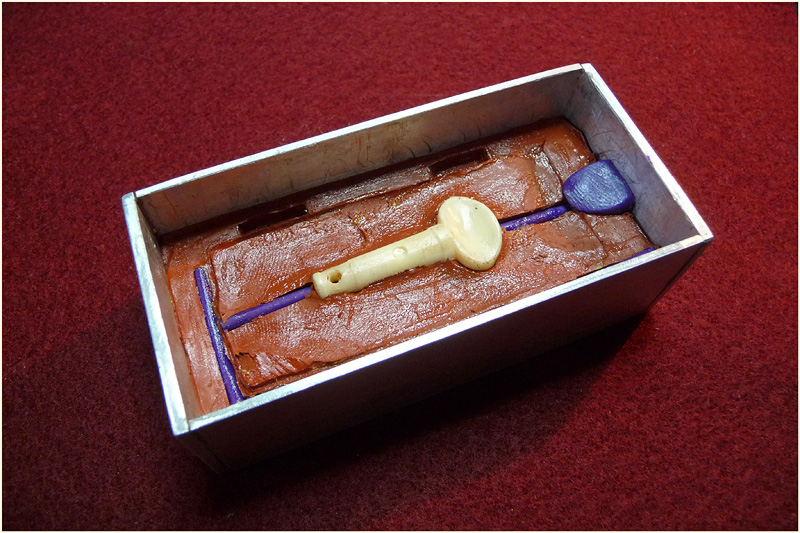
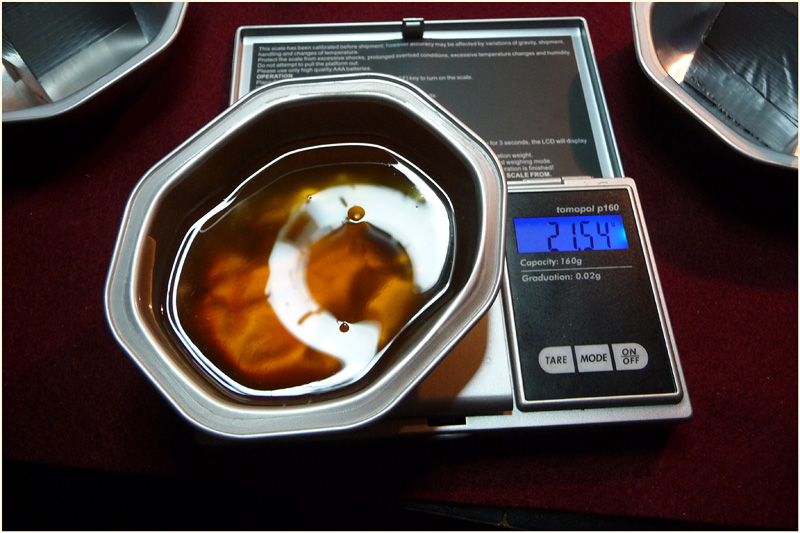
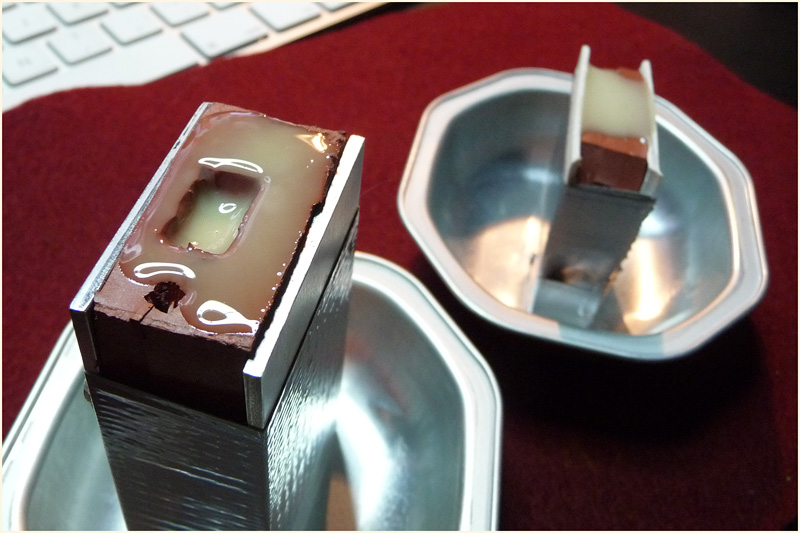
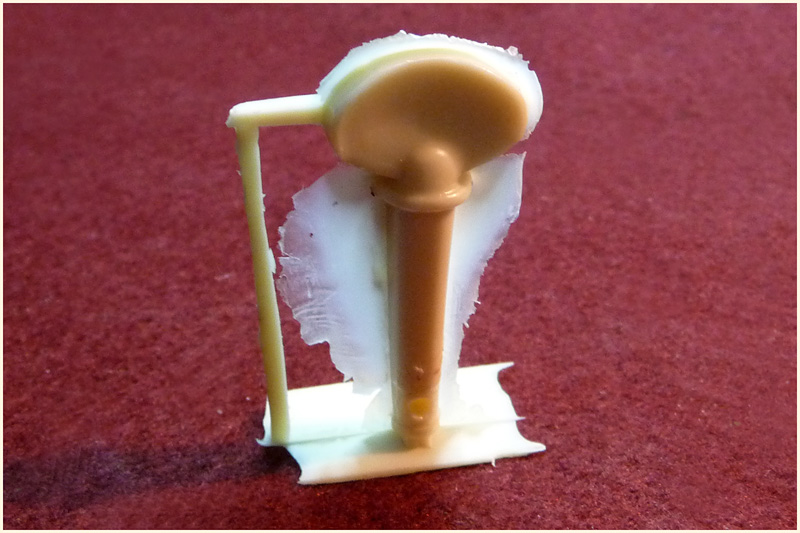
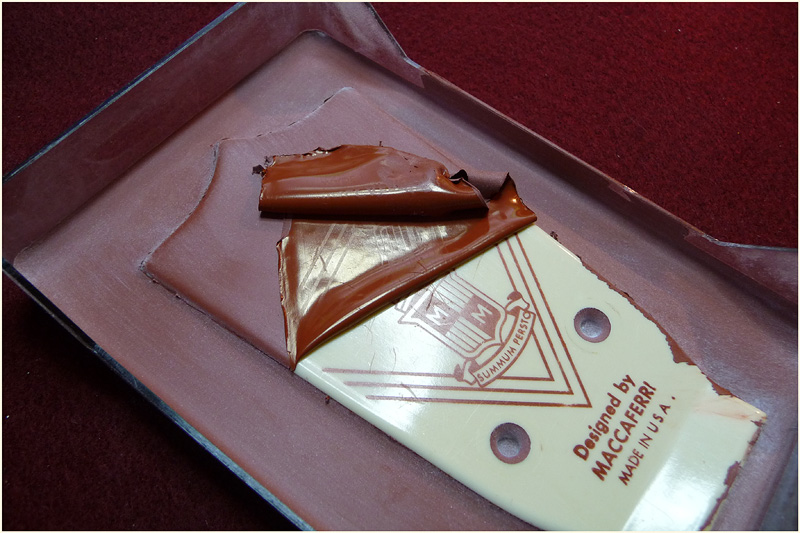
I cleaned the vaseline, and put some talc powder on the 2 parts (pic 13). Then I gently clawed the mold between two aluminium plates with duct tape. One can see the casting cone and the chimney hole of the air circuit (pic 14). Ready to cast! So I weighed polyurethane resin and hardener in 50/50 proportions (pic 15), and cast the mix (pic 16). The resin I used is very fast and after 5 minutes, I unmolded (pic 17) and got the raw peg. After cleaning with a sharp blade, I got my fourth peg, with the same flaws than the original! :) (pic 18).
I also made other pegs with a much simpler way. Just putting a peg on a silicone bed (pic 19) and cutting air circuit after (pics 20 to 24).
More difficult shape can be cast with the same success. For a Emenee peg for instance (pics 25 & 26). Or using a coloring dedicated to polyurethane resins. Here are the pegs I made for a TV Pal (pics 27 to 30).
I also cast an Islander head plate by the same means (pics 31 to 36).
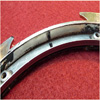
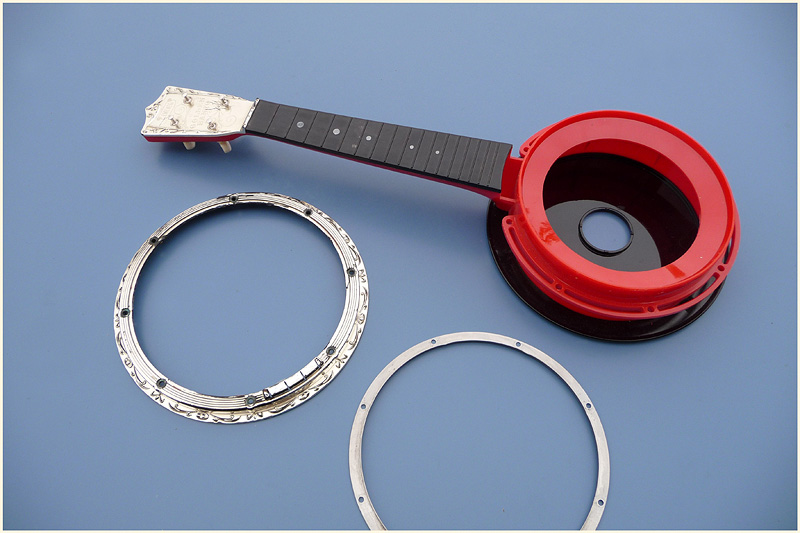
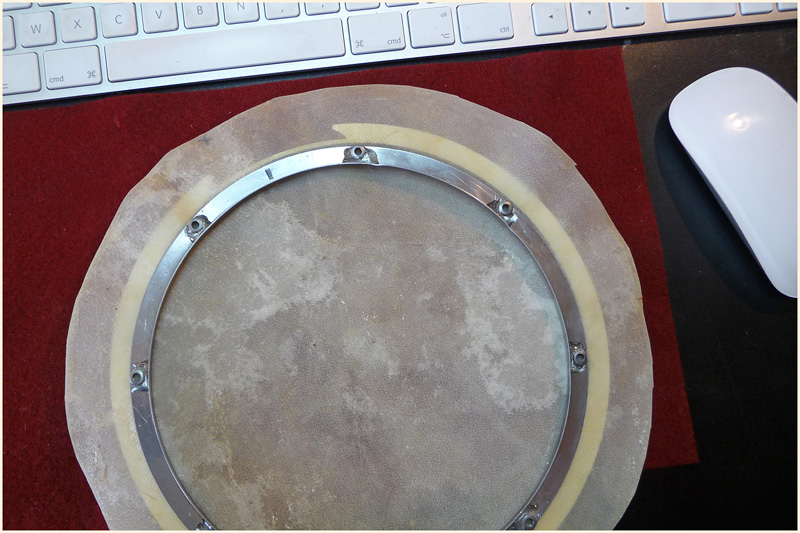
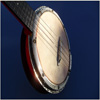
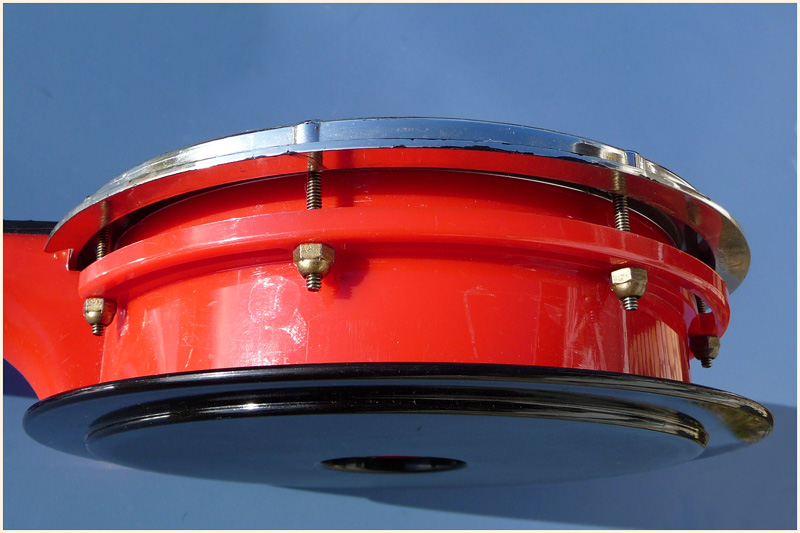
I have a Golden Banjo, by Emenee, which skin was very very loose : the bridge couldn't raise enough the strings over the frets. Impossible to tighten it because the skin holes were torn. More : impossible to turn the skin by some angle and make new holes, because the previous owner had already made it, as you can see on pic 1 (the original stamp made to place the bridge was turn upside-down). So, it was the time to change the skin, prefering playability to authenticity.
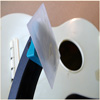
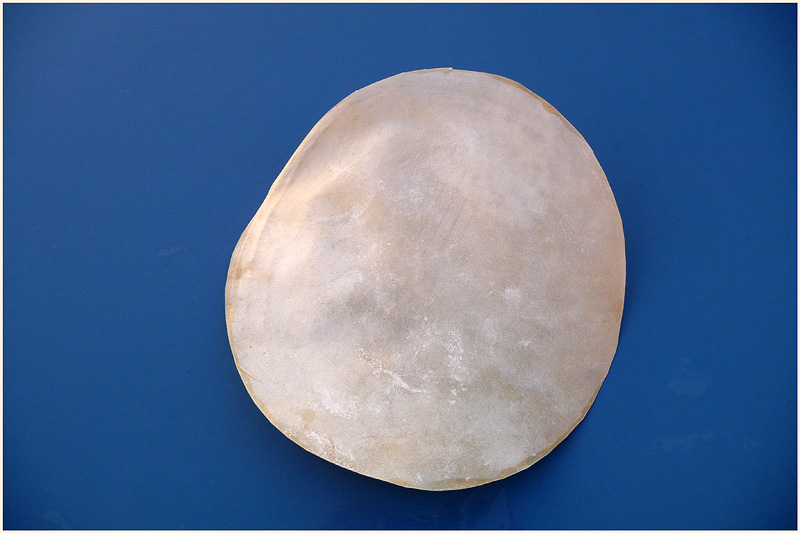
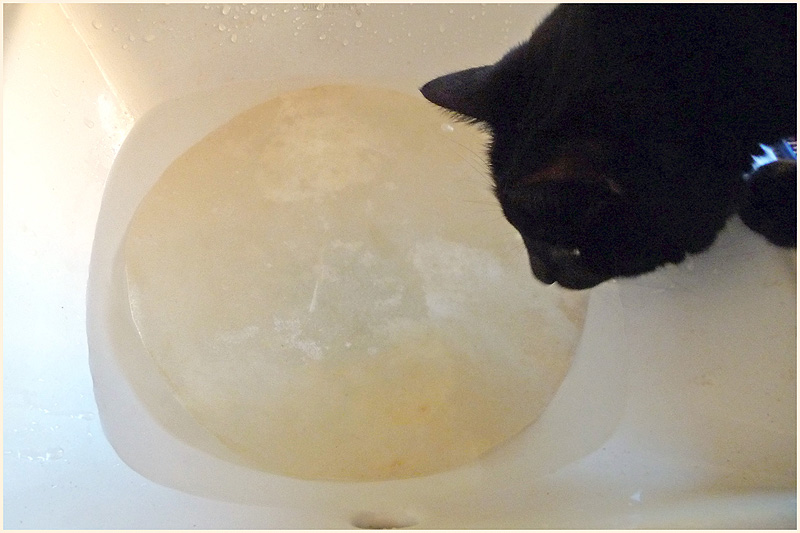
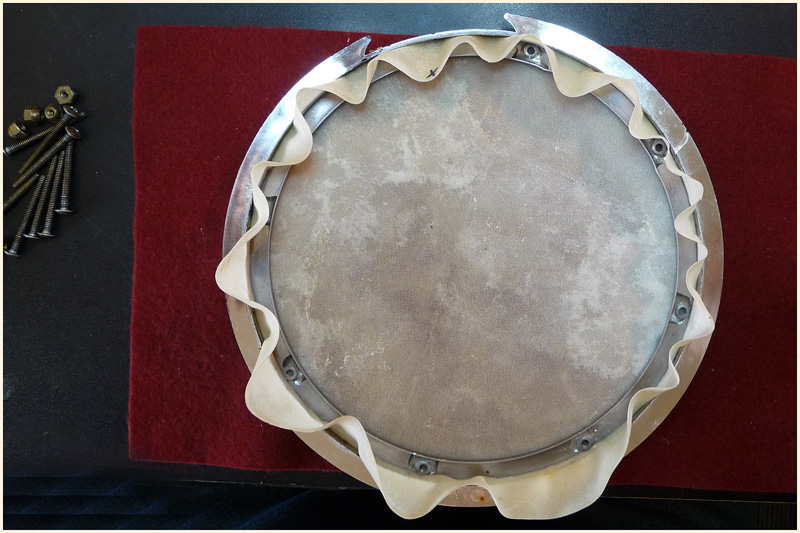
I unscrewed the whole head and disassembled the banjo (pic 2). I didn't want to spend a lot for that operation, so I didn't buy a high-end banjo skin, but chose a cheap tambourine skin on ebay (pic 3). Then, I soaked it in tepid water during 15 minutes (pic 4). Before removing the inner metal ring, I made a reference mark because the 8 holes and glued nuts were note exactly distributed (pic 5).
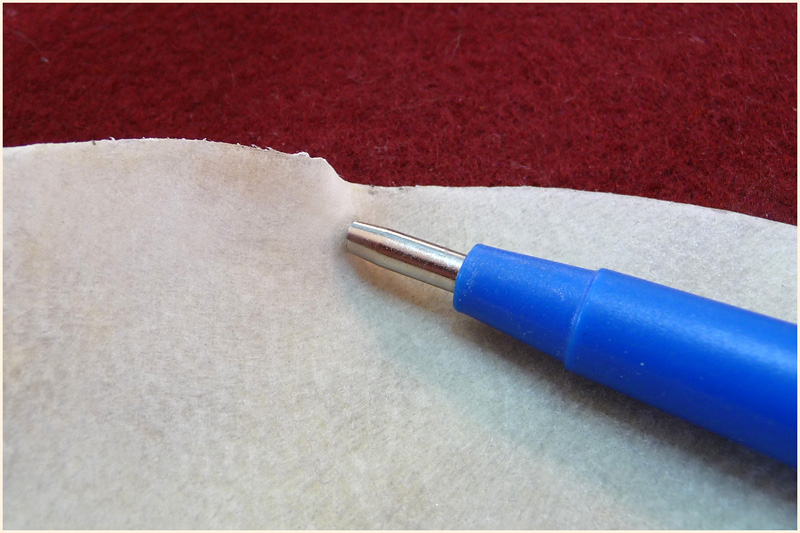
Then I placed the softened skin between both the plastic head and the inner ring (pic 6), and pressed the ring until the skin was in place (pic 7). I made a reference mark on the skin too and a point in the hole of all the nuts (pic 8). After that, I removed the skin from the head, and pierced the holes with a punch (pic 9) and placed skin back between the rings. I cut the unnecessary skin with a cutter, and forced all the bolts in the holes (pic 10).
Finally I put the head on the banjo, and screwed the bolts in the order 1-5-7-3-2-6-8-4: a bit tight but not much (pic 11). After half a day of drying, I tightened the nuts enough to get the right tension. Done! (pic 12).


 Change your skin!